Solar Engine
Integrate Purchases SDK with Solar Engine for precise revenue tracking
With our Solar Engine integration you can:
- Attribute subscription revenue and lifecycle events to the campaigns that drove them.
- Stream trial conversions, renewals, cancellations, and more directly from RevenueCat without relying on an app in the foreground.
- Continue measuring long-tail revenue from each campaign as subscriptions renew over time.
Integration at a Glance
| Includes Revenue | Supports Negative Revenue | Sends Sandbox Events | Includes Customer Attributes | Sends Transfer Events | Optional Event Types |
|---|---|---|---|---|---|
| ✅ | ✅ | ✅ | Standard Reserved Attributes | ❌ | non_subscription_purchase_event uncancellation_event subscription_paused_event expiration_event billing_issue_event product_change_event |
1. Install the Solar Engine SDK
Set up the latest Solar Engine SDK in every platform where you collect purchases before enabling the integration. Refer to the Solar Engine developer documentation for the most up-to-date installation instructions.
2. Send device data to RevenueCat
Solar Engine matches RevenueCat events to campaign cohorts using device and advertising identifiers. No subscriber attributes are strictly required for events to be sent. The following Customer Attributes are recommended for accurate attribution:
| Key | Description | Required |
|---|---|---|
$solarEngineDistinctId | Solar Engine Distinct Id. The primary Solar Engine identifier for the device | ⚠️ (recommended) |
$solarEngineAccountId | Solar Engine Account Id | ⚠️ (recommended) |
$solarEngineVisitorId | Solar Engine Visitor Id | ⚠️ (optional) |
$idfa | iOS advertising identifier UUID | ⚠️ (recommended) |
$gpsAdId | Google advertising identifier | ⚠️ (recommended) |
$idfv | iOS vendor identifier UUID | ⚠️ (recommended) |
$ip | The IP address of the device | ⚠️ (recommended) |
These properties can be set manually, like any other Customer Attributes, or through the helper methods collectDeviceIdentifiers() and the Solar Engine setter methods.
- Swift
- Kotlin
import AdSupport
import Purchases

// ...
Purchases.configure(withAPIKey: "public_sdk_key")
// ...

// Automatically collect the $idfa, $idfv, and $ip values
Purchases.shared.attribution.collectDeviceIdentifiers()

// Retrieve the identifiers from the Solar Engine SDK
let distinctId = /* Solar Engine SDK Distinct ID (optional) */
let accountId = /* Solar Engine SDK Account ID (optional) */
let visitorId = /* Solar Engine SDK Visitor ID (optional) */

// Forward them to RevenueCat
Purchases.shared.attribution.setSolarEngineDistinctId(distinctId)
Purchases.shared.attribution.setSolarEngineAccountId(accountId)
Purchases.shared.attribution.setSolarEngineVisitorId(visitorId)
// ...
Purchases.configure(this, "public_sdk_key")
// ...

// Collect device identifiers (important for attribution matching)
Purchases.sharedInstance.collectDeviceIdentifiers()

// Retrieve the identifiers from the Solar Engine SDK
val distinctId = /* Solar Engine SDK Distinct ID (optional) */
val accountId = /* Solar Engine SDK Account ID (optional) */
val visitorId = /* Solar Engine SDK Visitor ID (optional) */

// Forward them to RevenueCat
Purchases.sharedInstance.setSolarEngineDistinctId(distinctId)
Purchases.sharedInstance.setSolarEngineAccountId(accountId)
Purchases.sharedInstance.setSolarEngineVisitorId(visitorId)
You should make sure to call collectDeviceIdentifiers() after the Purchases SDK is configured, and before the first purchase occurs. It's safe to call this multiple times, as only the new/updated values will be sent to RevenueCat.
If you are requesting the App Tracking permission through ATT to access the IDFA, you can call .collectDeviceIdentifiers() again if the customer accepts the permission to update the $idfa attribute in RevenueCat.
The AdSupport framework is required to access the IDFA parameter on iOS. Don't forget to import this into your project.

Make sure to remove all client-side tracking of revenue. Since RevenueCat will be sending events for all revenue actions, tracking purchases with the Solar Engine SDK directly can lead to double counting of revenue in Solar Engine.
3. Configure Solar Engine in the RevenueCat dashboard
After your SDK is ready and device data is flowing, finish the setup in RevenueCat:
- Navigate to your project settings in the RevenueCat dashboard and choose Solar Engine from the Integrations menu.
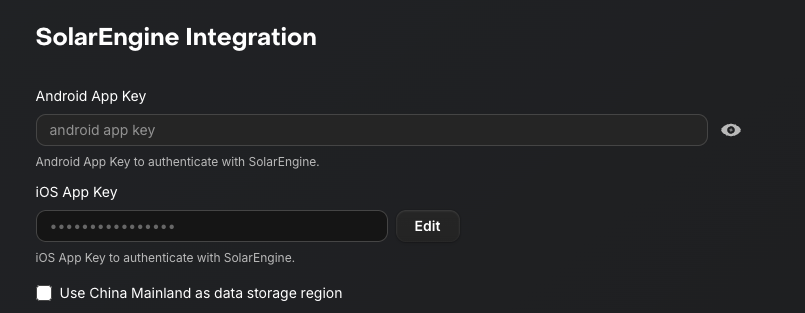
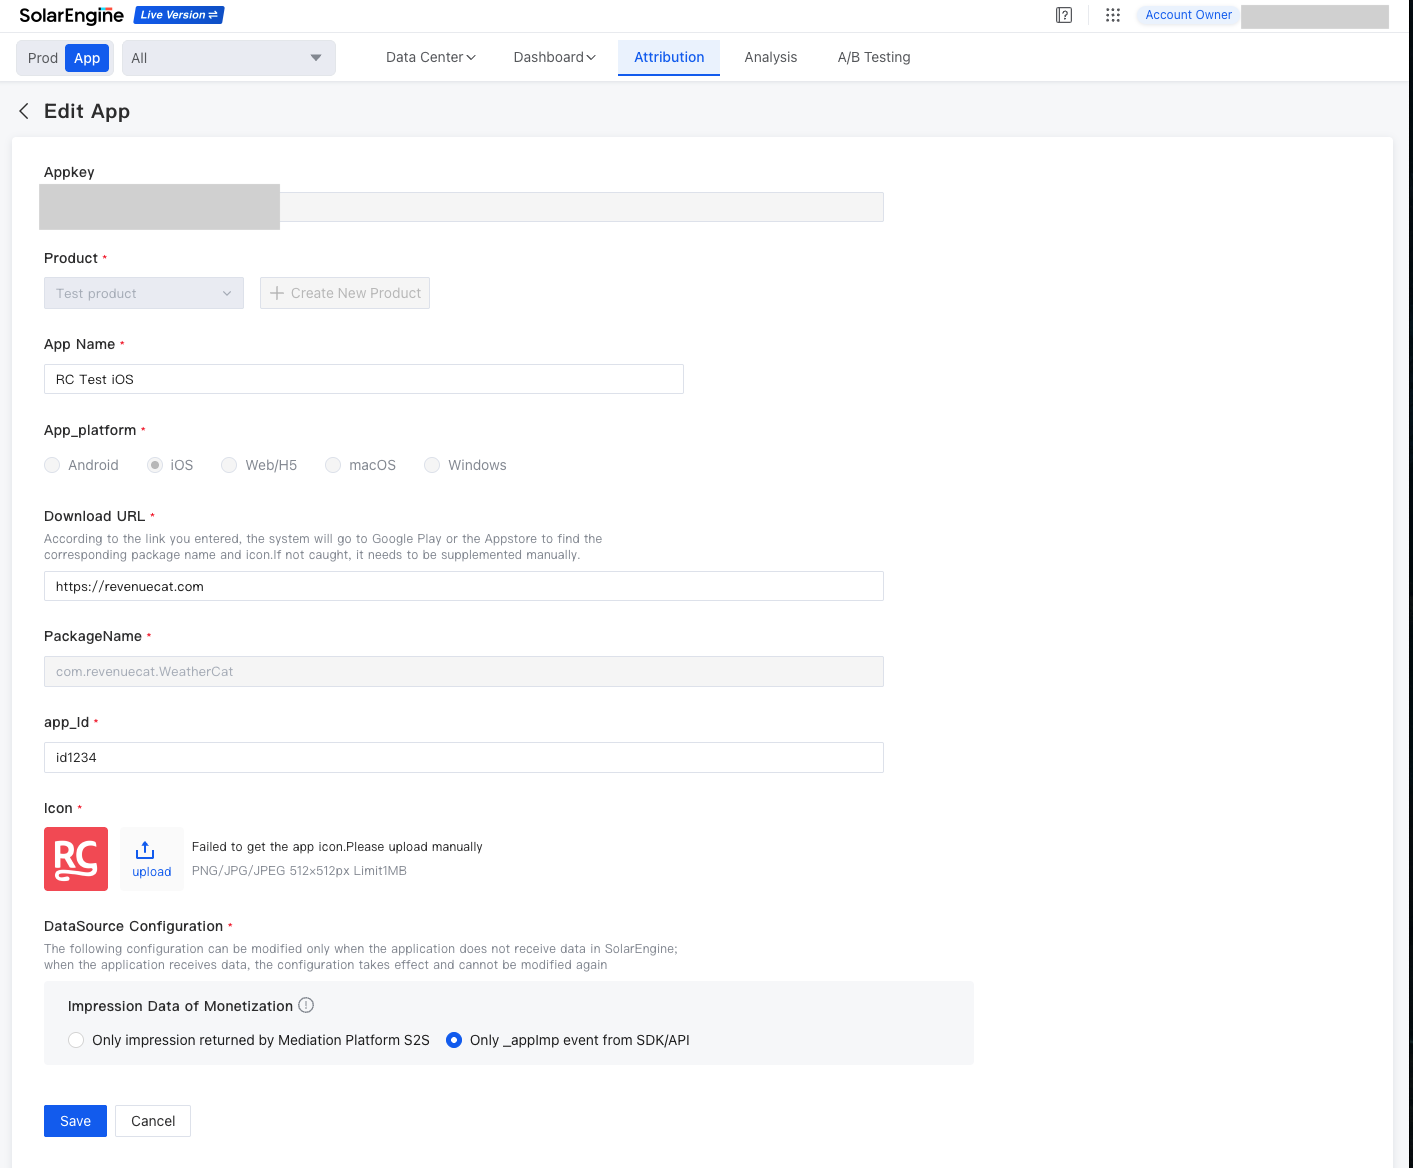
- Enter your iOS App Key and/or Android App Key. These keys authenticate requests from RevenueCat to Solar Engine. You can find them in your Solar Engine dashboard under Attribution > App > Edit App.
-
If your app targets users in China mainland, enable the Use China Mainland Storage Region option to ensure data is stored in the appropriate region.
-
Provide event names for each lifecycle event RevenueCat will send, or choose Use default event names to populate the recommended mapping:
RevenueCat lifecycle event Default Solar Engine event name Event Type Required Initial purchase initial_purchase_eventIn-App Purchase + rc_event_name ✅ Trial started trial_started_eventCustom event ✅ Trial converted trial_converted_eventIn-App Purchase + rc_event_name ✅ Trial cancelled trial_cancelled_eventCustom event ✅ Renewal renewal_eventIn-App Purchase + rc_event_name ✅ Cancellation cancellation_eventCustom event ✅ Non-renewing purchase non_renewing_purchase_eventIn-App Purchase + rc_event_name Optional Uncancellation uncancellation_eventCustom event Optional Subscription paused subscription_paused_eventCustom event Optional Expiration expiration_eventCustom event Optional Billing issue billing_issue_eventCustom event Optional Product change product_change_eventCustom event Optional -
Select how RevenueCat should report revenue totals using the Revenue reporting mode menu:
Grossreports transaction amounts before app store commission and taxes.Netreports revenue after estimated store commission and/or taxes.
-
Click Add integration (or Save) to enable the connection.
4. Test the Solar Engine integration
Before rolling out the integration, run through an end-to-end test:
- Make a sandbox purchase with a new user after confirming the device identifiers from step 2 are present.
- Visit the Customer View for the tester and confirm the Solar Engine attributes are listed.
- Open the test transaction in Customer History and ensure a Solar Engine event was delivered successfully. You can also review the Last dispatched events panel in the integration settings for a delivery log.
Once configured, you should begin to see RevenueCat lifecycle events appear in Solar Engine aligned with the campaigns that sourced those users.