Product Configuration
Use Entitlements and Offerings to organize and display products
Products are the individual SKUs that users actually purchase from your app. You can create products in two ways:
- Test Store products - Create directly in RevenueCat for testing (no store setup required)
- Real store products - Products from Apple, Google, Stripe, etc. that process real payments
RevenueCat Offerings are a way to organize and display products to users. You can read more about Offerings here.
Test Store Products
Create Test Store products directly in RevenueCat for development and testing—no app store setup required.
To create a Test Store product:
- Go to Products in the Product catalog section
- Click + New product
- Select Test Store as the store
- Enter a product identifier and configure pricing
- Click Save
Use Test Store during development. When ready for production, create real store products. See Sandbox Testing.
Real Store Products
For production, set up products in the real stores (Apple, Google, Stripe, etc.). This is where you configure price, duration, and free trials:
Free trials, promotional offers, and other product configuration
RevenueCat supports free trials, promotional offers, and other product configuration options.
You can read more about these product configuration options here.
Import Products to RevenueCat
After setting up products in the real stores, import them into RevenueCat to create a 1-to-1 mapping.
If a user purchases a product that has not been set up in RevenueCat, the transaction will still be tracked in RevenueCat, and the product will be automatically created in RevenueCat.
Automatically Import Products (recommended)
After connecting your project to a store, RevenueCat supports automatically importing products from the store.
Navigate to the Products tab in the settings for your project in the RevenueCat dashboard, and click the + New button, then choose Import Products. RevenueCat will display a list of products that are available to import.
Currently Google's one-time products must be backwards compatible to be automatically imported. Otherwise they must be manually imported, see below for how to do so.
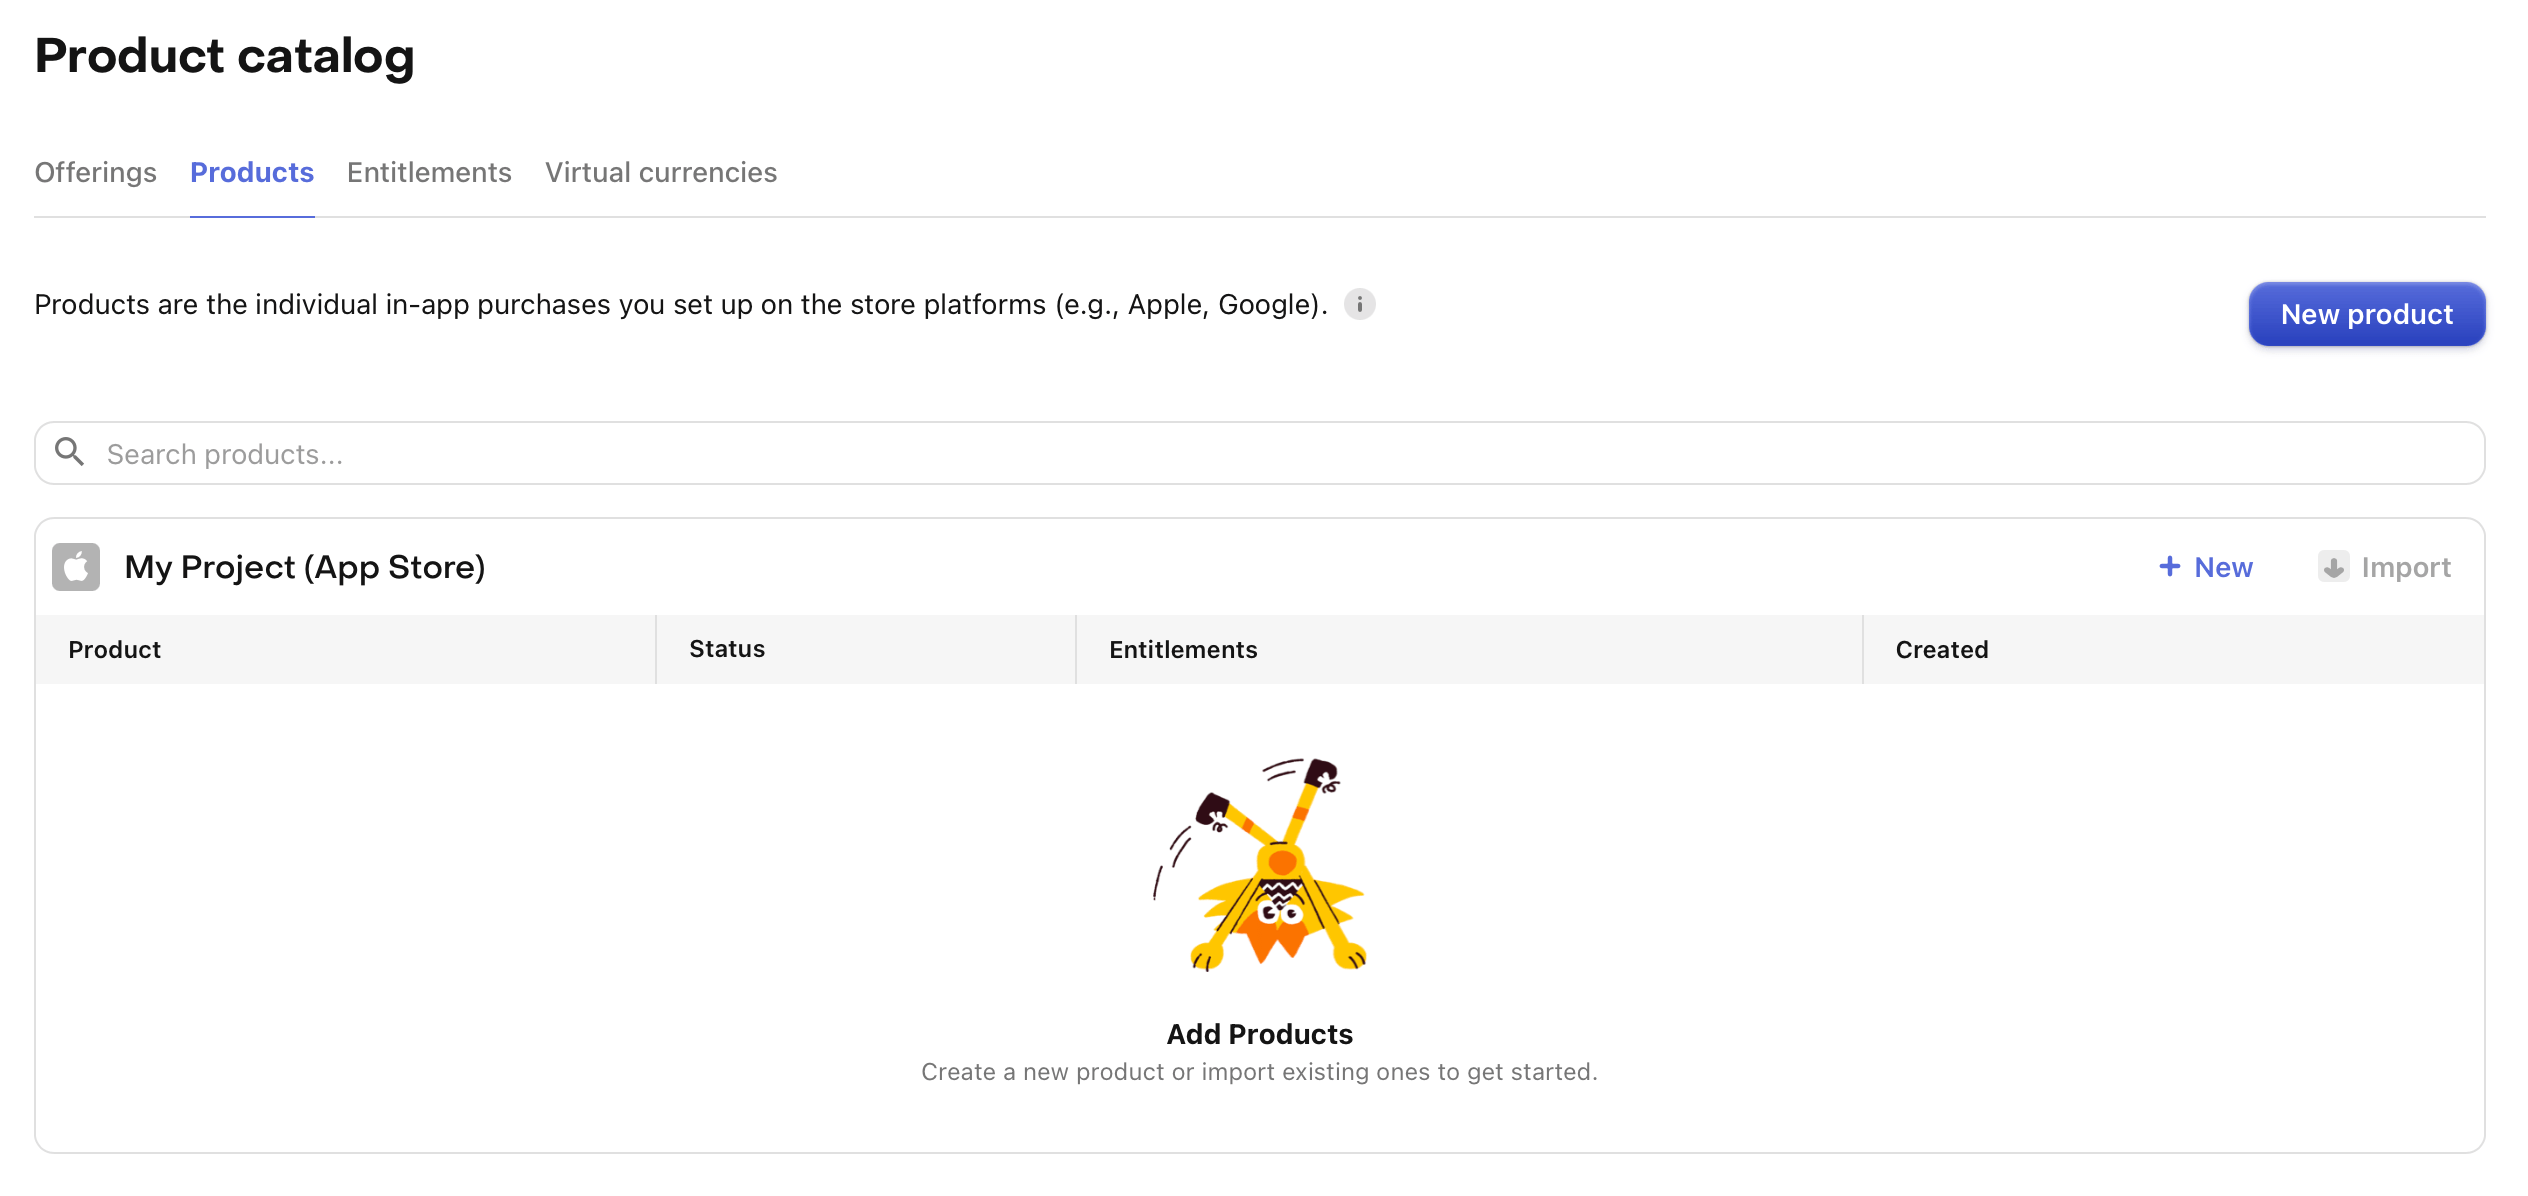
Manually Import Products
Navigate to the Products tab in the Product catalog section of your project in the RevenueCat dashboard. To add a new product, click the + New product button and enter the product identifier exactly as it appears in the store, as well as the store that the product belongs to.
These product identifiers are the link between RevenueCat, and Apple, Google, Stripe, or Amazon.
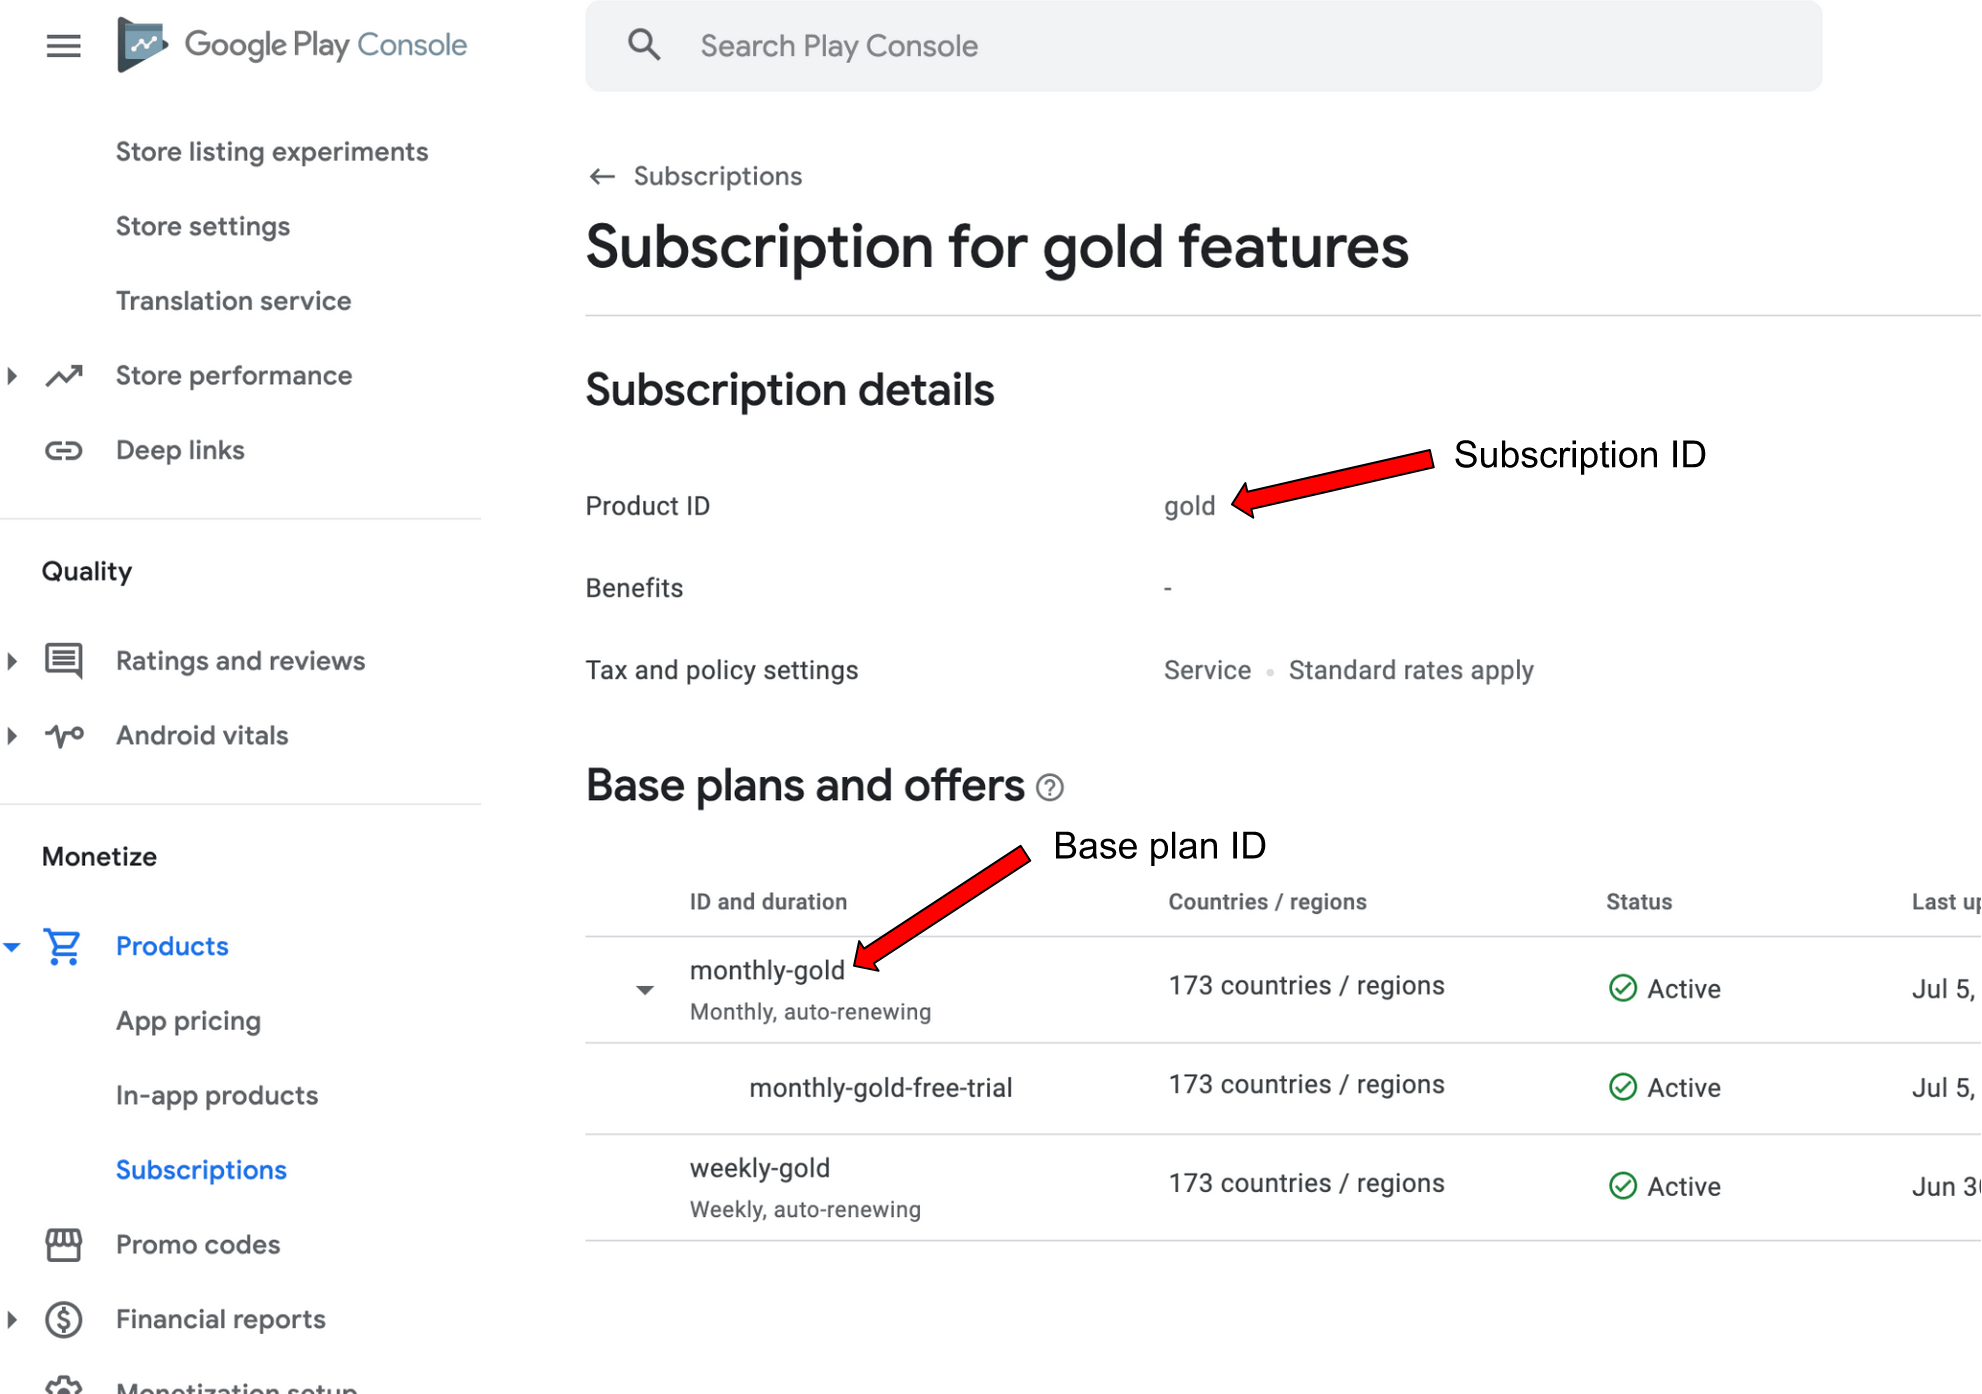
When adding products manually for Google Play apps, you will need to add both the subscription ID and the base plan ID, which you can find in Google Play Console as per the following screenshot:
Product Display Names
To make it easier to identify your products in RevenueCat, you can optionally set a display name for them by:
- Navigating to a product's configuration page
- Clicking Edit
- Entering your desired display name
- Clicking Save
Product display names must be unique within an app. It's a good practice to include the product duration in the display name to avoid name overlaps, for example: 'My Pro Subscription Monthly', 'My Pro Subscription Yearly' etc".
Next steps
After adding products (Test Store or real store), organize them with Entitlements and Offerings.
Create an Entitlement →