Paddle app-to-web purchases
Configure a web purchase flow linked from an iOS paywall, using web purchase links and Paddle Billing
Overview

This guide walks you through the setup for adding web purchases to your iOS app with RevenueCat Web and Paddle Billing. The flow consists of the following steps:
- User views RevenueCat paywall (in-app)
- User clicks a web purchase button on the paywall, and lands on a web purchase link in the device browser
- User completes their purchase in the Paddle Billing checkout (presented within the web purchase link)
- User is redirected back into the mobile app, using a custom URL scheme
- User is granted access to the premium entitlements associated with the product they purchased
Current limitations
- Product quantity: RevenueCat Web purchase flows with Paddle currently support one product per purchase. Products purchased with a quantity of more than one (via the quantity adjustment in the Paddle checkout) will be reflected as a single product purchase in RevenueCat.
- Customization: The Paddle overlay checkout only supports a single accent color customization.
Before you begin (prerequisites)
Before you start to configure this flow, you'll need the following:
- A RevenueCat account (sign up here)
- A iOS mobile app with the RevenueCat SDK configured (see getting started)
- iOS products configured in RevenueCat (see product configuration)
- A Paddle Sandbox account (sign up here)
- (Optional) A Paddle Production account (in order to ship a production version, sign up here)
Some steps only need to be configured once, and are marked accordingly. Others require dedicated setup in both sandbox and production environments.
1. Configure your Paddle account
- Sandbox (https://sandbox-vendors.paddle.com/)
- Production (https://login.paddle.com/)
Add a registered payment domain
- Go to the Website approval page under Checkout
- Click Add a new domain
- Enter
pay.rev.cat - Click Submit for Approval
In your production account, you'll need to wait for approval after adding the payment domain. No approval is required on sandbox accounts.
Set a default payment link
Go to the Checkout settings page under Checkout.
If your Paddle account does not already have a default payment link set, enter https://pay.rev.cat.
If a default payment link is already configured (because you're using the account for other purposes) you can leave this unchanged. It will not affect your app-to-web purchases.
Disable abandoned cart emails
Disable Paddle's abandoned cart emails in Paddle's checkout recovery settings. The link in these emails can't reopen a checkout started by RevenueCat, so customers who click it can't complete their purchase.
Add a new API key and define permissions
- Navigate to the Authentication page under Developer Tools
- Click the + New API key button
- Give the new key a suitable name and description
- Important: Set the key to NOT expire (differs from default)
- Set the permissions according to the minimum required API key permissions in the Paddle Billing setup guide, including Customer portal sessions (Write)
- Save the new key
- Copy the key to your clipboard
Paddle only embeds authenticated session tokens inside subscription management URLs when the API key has the Customer portal sessions (Write) permission. Without it, RevenueCat can't generate the URLs customers need to manage or cancel their subscription.
If you close the modal showing the full API key, you will no longer be able to copy it — we recommend you leave this window open until you've saved the key in the RevenueCat config.
2. Create Paddle config in RevenueCat dashboard
- Sandbox
- Production (separate config required)
- Log in to your RevenueCat account
- Go to your project
- Go to Web in the lower section of the project dashboard
- Create a web config for Paddle
- Click Set secret, paste your Paddle API key and click Set
For this use case, we recommend selecting:
Automatic purchase tracking — this tracks all purchases from the Paddle account using webhooks, with no additional setup required. Autogenerated user IDs — because we're sending users directly from the mobile app, an app user ID will already be provided and associated to the purchase.
Finally, click Connect to Paddle to initiate and test the connection.
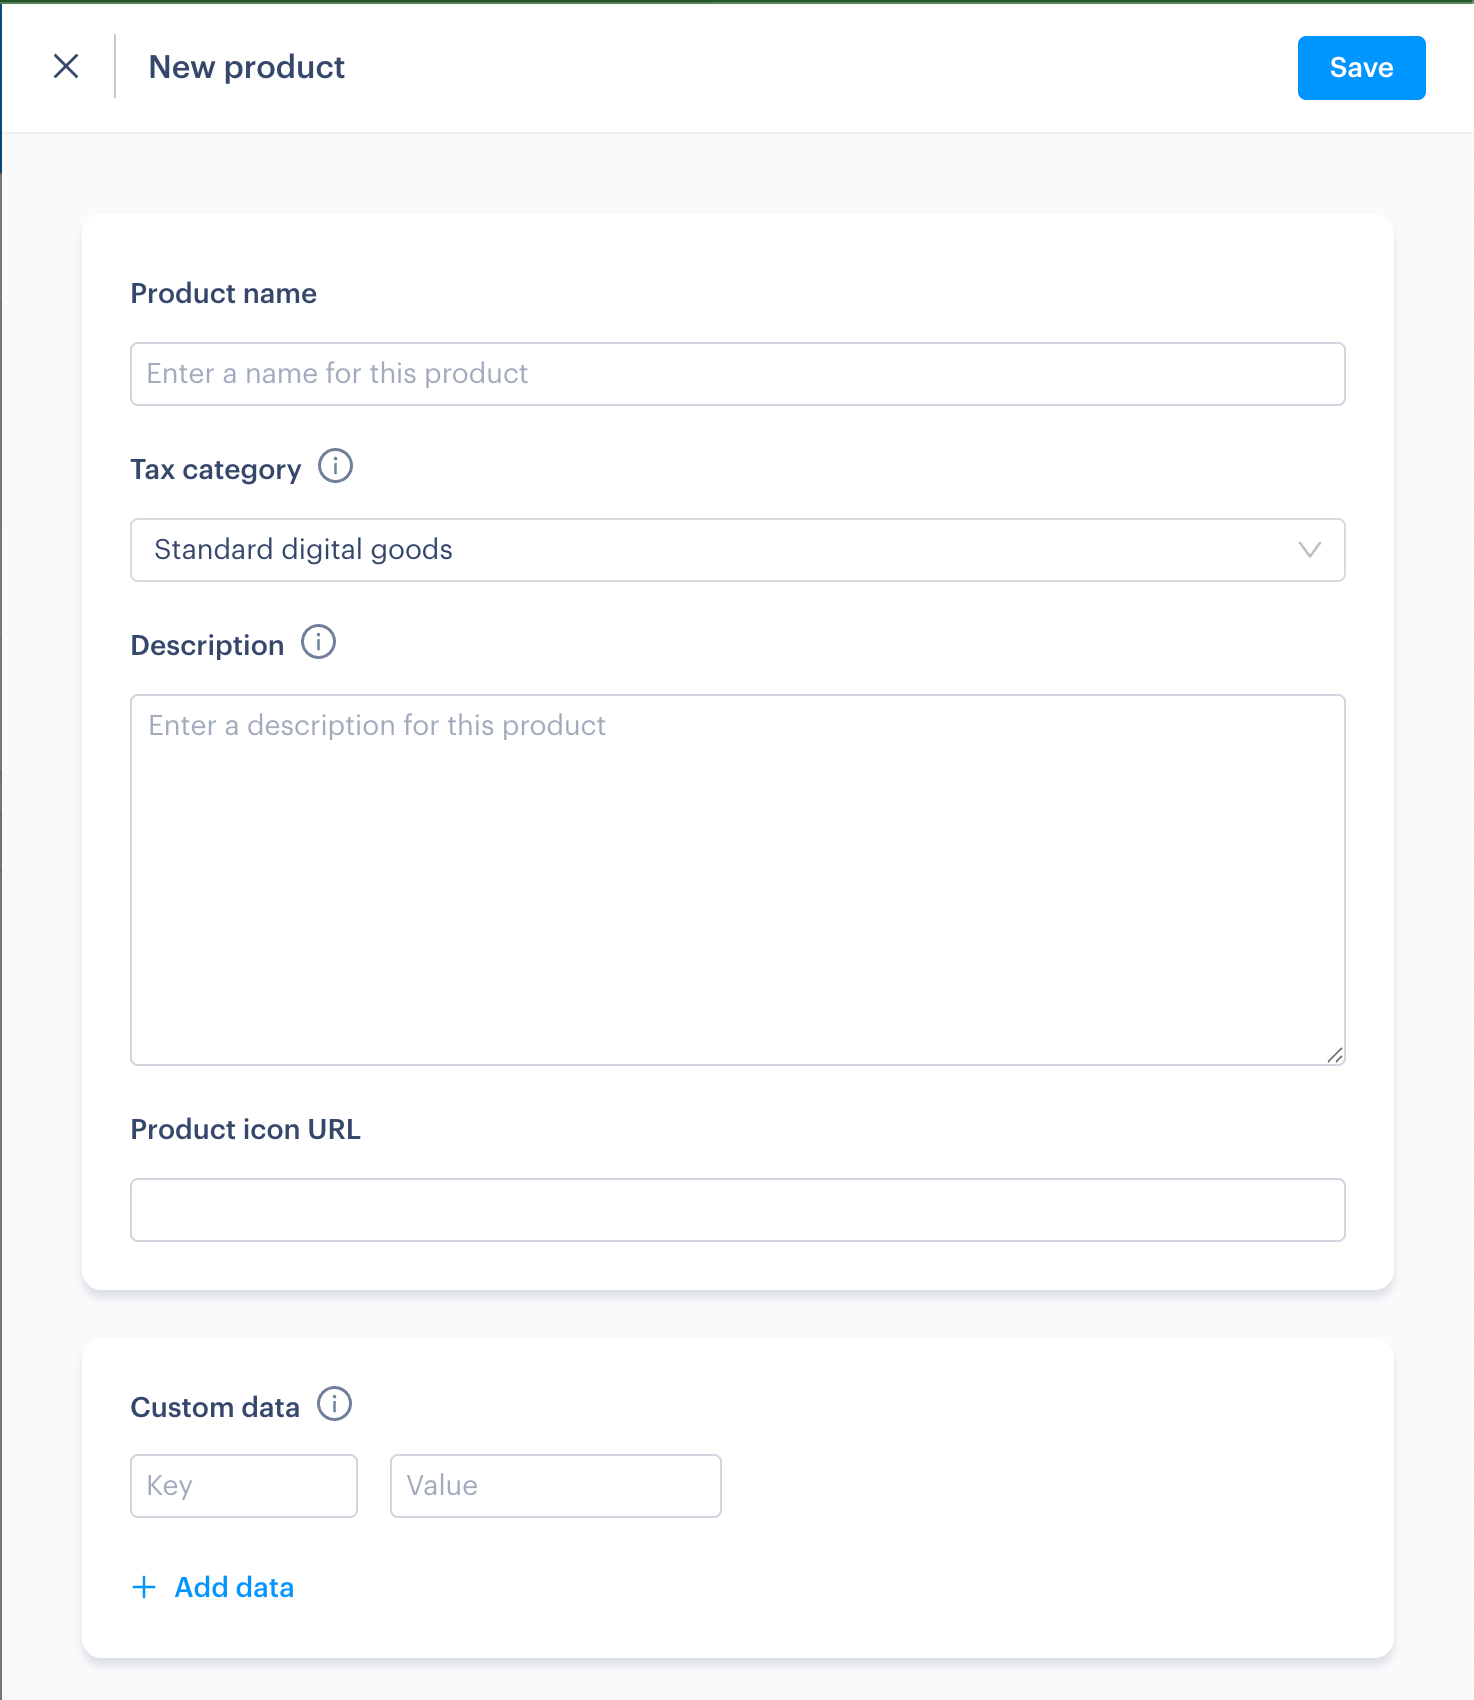
3. Create products and prices in Paddle
- Sandbox (https://sandbox-vendors.paddle.com/)
- Production (https://login.paddle.com/)
A Price in Paddle maps to a Product in the RevenueCat system. So for example, if you create two prices under the same Paddle product, when you import or manually create the products in the RevenueCat dashboard, you'll notice two separate products.

- Log in to the Paddle Dashboard
- To create a new product, expand the Catalog section in the sidebar and click Products.
- On the top right corner of the page, click New Product.
- Enter the product name and any other optional details like a description then click Save.
Then on the prices section, click New Price. Enter details like the base price, the type of pricing (recurring or one-time), the billing period, and any trial periods you are offering and click Save.
The "price name" field defines to what is shown to users in the checkout, as a representation of what they're purchasing.
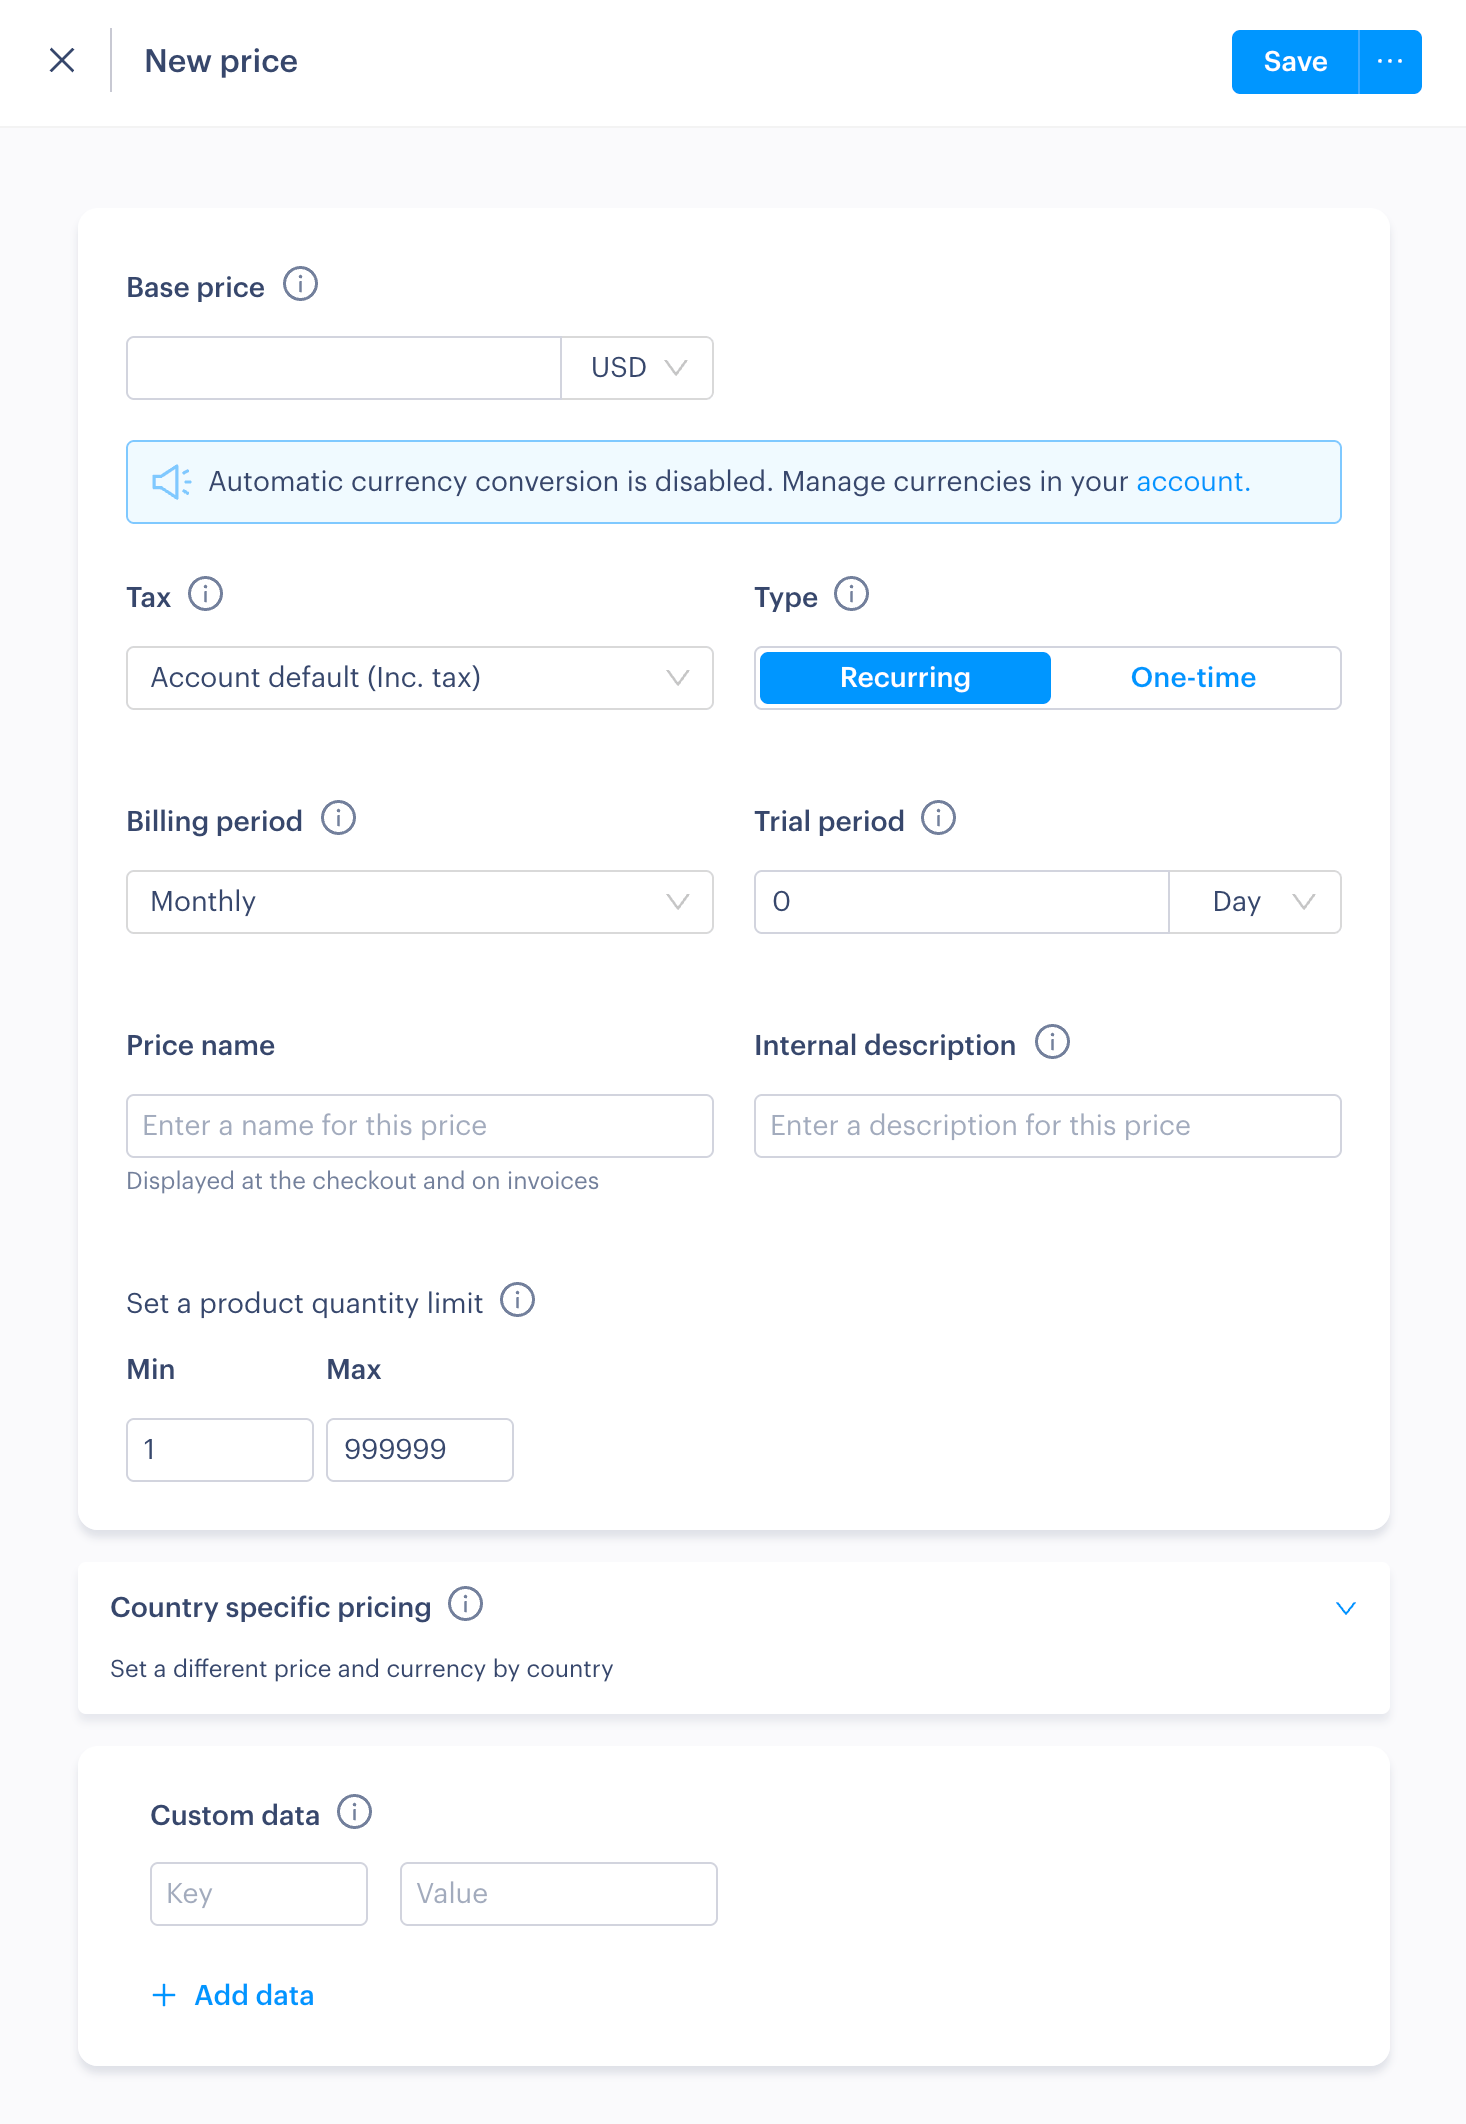
You can read more about products and prices in Paddle's official documentation.
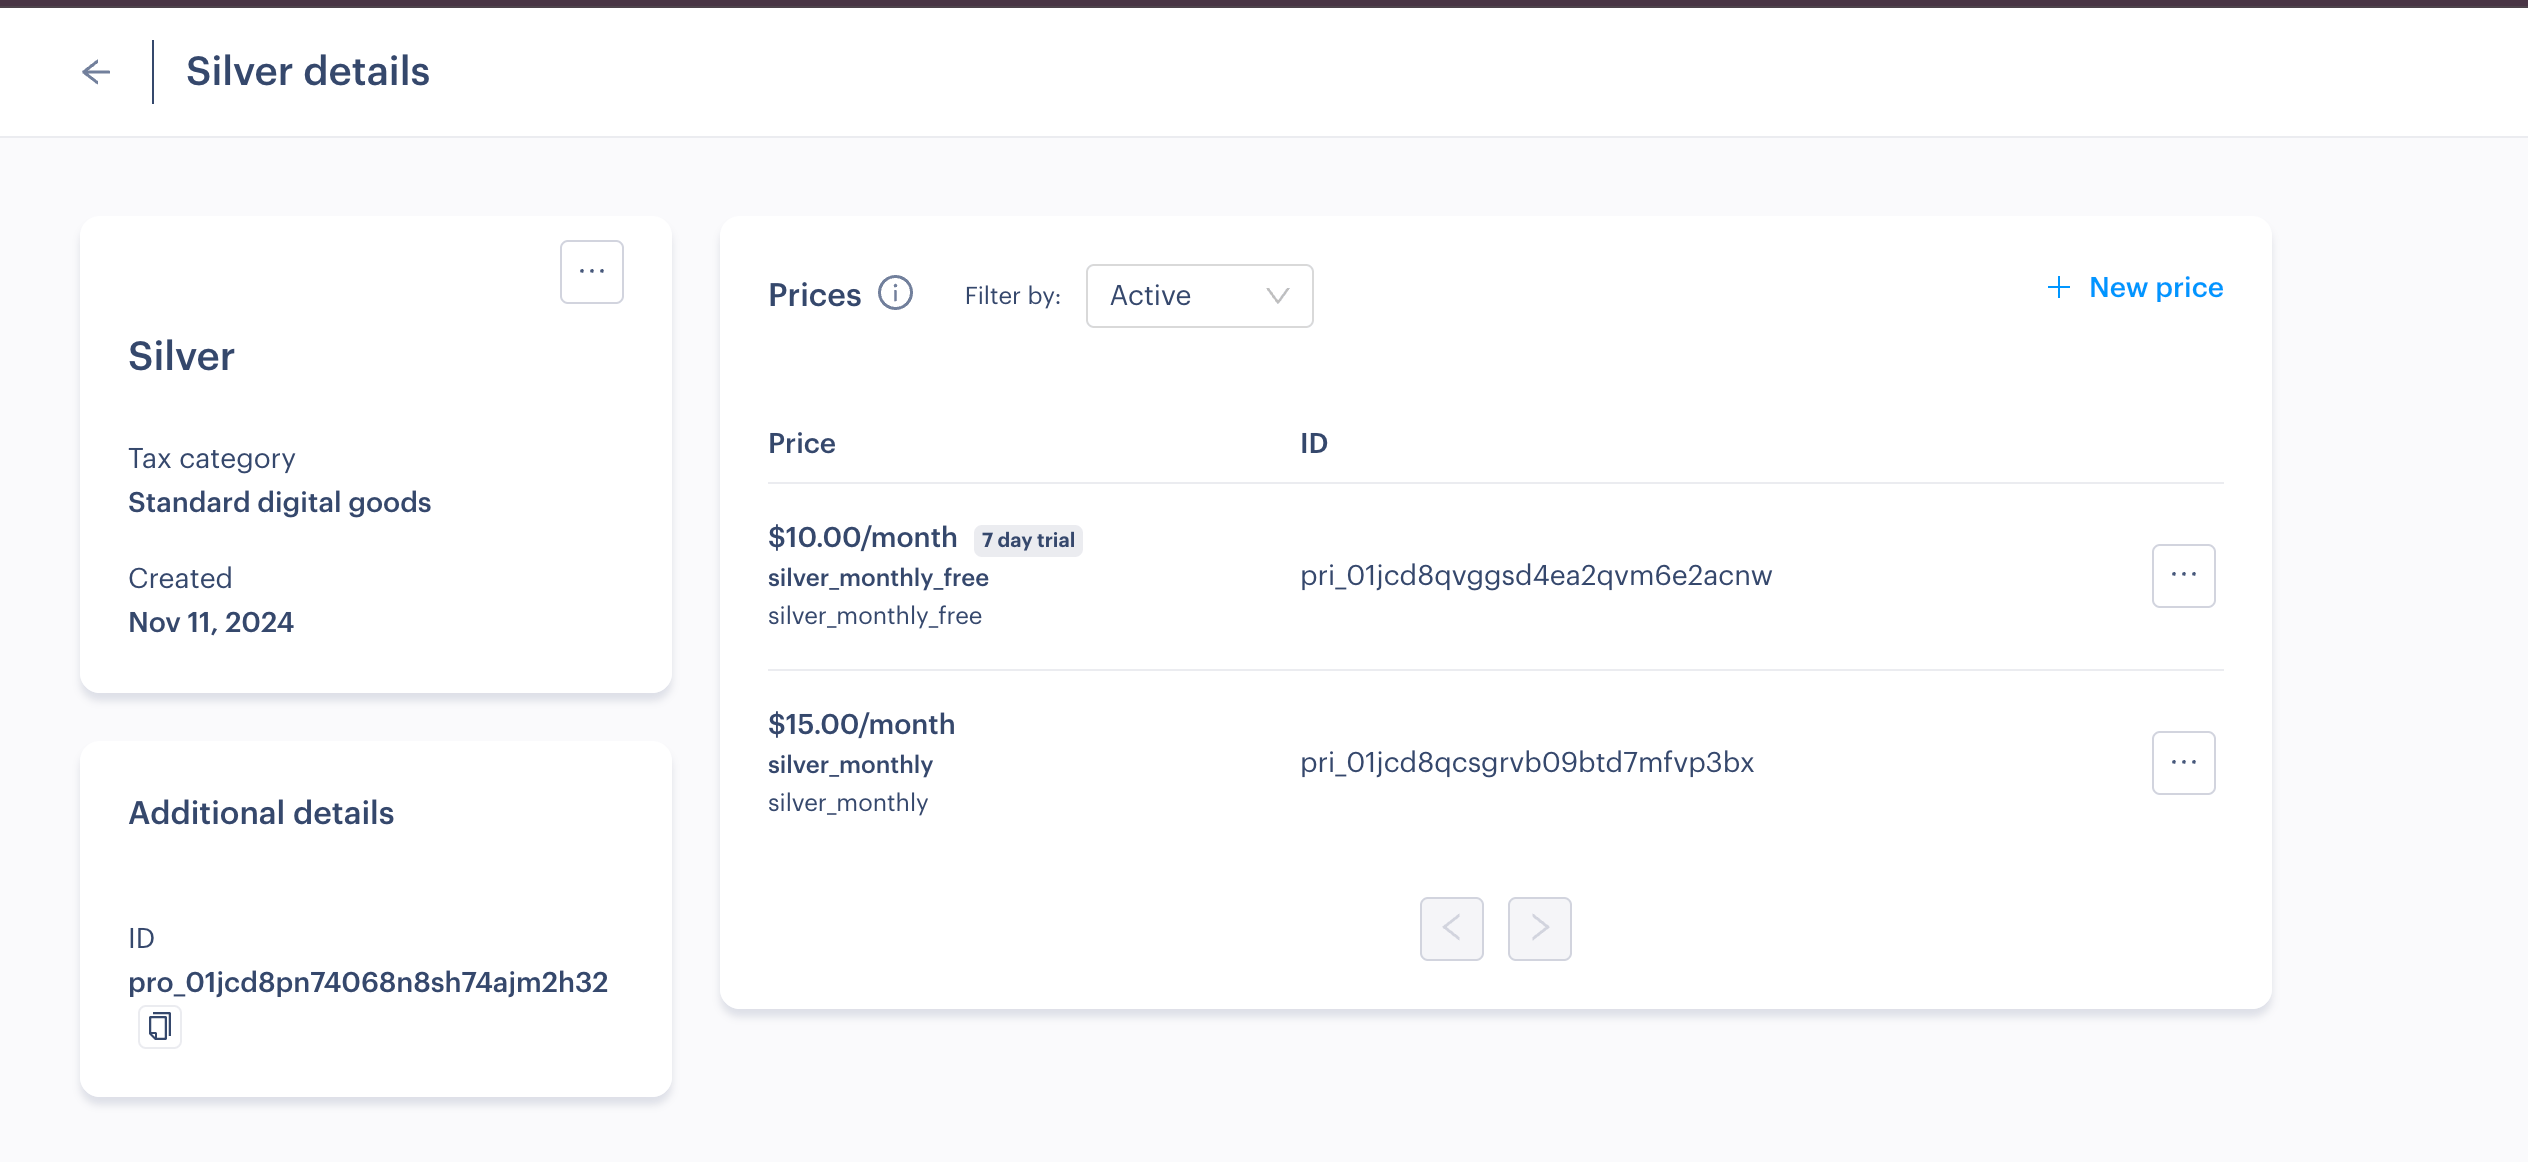
4. Import products to RevenueCat
- Sandbox
- Production
- Go to the Product catalog in your RevenueCat dashboard, and select the Products tab
- Find your previously added Paddle provider, and click Import
- Check the products you want to use for your web purchases, and click Import
The imported products should now be displayed under your Paddle provider on the Products page.
5. Create entitlements in RevenueCat
- Sandbox
- Production
What is an entitlement?
RevenueCat Entitlements represent a level of access, features, or content that a user is "entitled" to, and are typically unlocked after a user purchases a product.
Entitlements are used to ensure a user has appropriate access to content based on their purchases, without having to manage all of the product identifiers in your app code. For example, you can use entitlements to unlock "pro" features after a user purchases a subscription.
Most apps only have one entitlement, unlocking all premium features. However, if you had two tiers of content such as Gold and Platinum, you would have 2 entitlements.
Adding an entitlement
- Go to the Product catalog in your RevenueCat dashboard, and select the Entitlements tab
- Click + New entitlement
- Enter an identifier and description for the entitlement, and click Add
Attaching a product to your entitlement
- Go to your previously created entitlement and click Attach under associated products
- In the table, check the product from your Paddle provider, and click Attach
6. Create an offering & packages in RevenueCat
- Sandbox
- Production
- Go to the Product catalog in your RevenueCat dashboard, and select the Offerings tab
- Click New offering to create a new offering
- Enter a suitable identifier and display name
- Under Packages, click + New Package
- Select an identifier that corresponds to the billing cycle of your subscription
- Enter a description
- In the products list, find your previously-created Paddle provider and select the corresponding Paddle product (this should correspond with the billing cycle you chose in the identifier)
- Click Save
7. Create and configure a web purchase link to enable web purchases
- Sandbox
- Production
Web Purchase Link basics
- Go to Funnels in the project dashboard, then use the Purchase Links section to create a web purchase link
- For the Offering, choose the offering you created earlier
- For the Payment provider, choose the Paddle config you created earlier
- Enter a suitable header and subheader for the package selection page, along with a link to terms & conditions
When linking to a web purchase from a RevenueCat paywall, by default the package selection page will be skipped and subscribers will land directly on the checkout with the package selected.
Configure the success redirect
To redirect the subscriber back into to your app after the purchase, you can use a custom URL scheme (see instructions below). You could alternatively redirect the subscriber to a Universal Link, or your own custom page.
To add a custom URL scheme in iOS:
- In Xcode, find your xcodeproj file — Info tab — URL Types section.
- Then add your custom scheme in the URL Schemes field.
Adding your custom URL scheme in the web purchase link redirect:
Select the Redirect to a custom success page option, and enter your URL scheme in the format YOUR_CUSTOM_SCHEME://.
In order to use a URL scheme on production, your users must be using a version of your app that has the URL scheme configured. Distribute app updates before enabling this feature.
Choose the repeat purchase behavior
Define what happens when customers try to purchase a product while they already have an active subscription or entitlement. For the app-to-web use case, it's recommended to choose Show the success page.
Note that customers can't have more than one active subscription to the same product, or re-purchase a non-consumable product.
8. Create a mobile paywall
- Sandbox
- Production
If you have an existing mobile paywall configured:
- Make sure your existing paywall is attached to the same offering you've configured for web purchases
- Add a web purchase button to your paywall (Read more)
If you don't have a mobile paywall configured:
- Go to Paywalls in the RevenueCat dashboard
- Select + New paywall
- Choose the offering you created earlier in this guide and click Add
- follow this detailed guide on creating a paywall, and add the mobile packages you want to present.
- Add a web purchase button to your paywall (Read more)
Configure the web purchase button
Once you've added a suitable web purchase button to your paywall:
- Set the Open behavior to Web purchase
- Publish the changes
9. Test the purchase flow in sandbox
- Sandbox only
Testing the paywall
If you've completed this flow for a sandbox setup, you have several options for testing it:
- Use the RevenueCat iOS app to preview (see how)
- Preview the published paywall in your own app (see how)
- Override a customer's default offering (see how)
- Create a Targeting Rule for an internal app version (see how)
- Test through Xcode (see how)
Testing web purchases
To test the web checkout in sandbox mode, make sure that you:
- Have a paddle config created connected to a Paddle sandbox account
- Have products and entitlements from that sandbox account
- Have configured an offering and web purchase link to present those products/packages
You can find the sandbox purchase URL by
- Go to Funnels in the project dashboard, then use the Purchase Links section
- Click the name of your web purchase link
- Click Share URL
- Append a user ID
- Click Copy sandbox URL
The sandbox URL template will only function if you append an app user ID to it (can be a random ID for testing purposes).
To test web purchases on sandbox, you can use Paddle's test cards to simulate a real transaction.
10. Repeat this walkthrough to configure production purchases
If you've successfully configured and tested a purchase flow using sandbox environments, you can now restart this guide to do the same for a production environment.
In production, you'll need:
- A different Paddle account, from the production domain (https://login.paddle.com/)
- A new Paddle config in RevenueCat, connected to the production Paddle account
- Newly imported products from the production paddle account
- A new offering in RevenueCat, connected to a paywall to present those products