

Last month, Stream launched their superb tutorial project, teaching you how to build a Twitter clone with Swift UI in just a weekend.
This resource teaches developers a bunch of things. Firstly, if you’ve ever wanted to learn more about iOS and SwiftUI development, then this is a quick self-contained project that will give you something tangible by the end of it. Secondly, it shows all developers the power of using third-party platforms to power discreet functionality in your app.
Stream for chat and activity feeds, Algolia for search, 100ms for audio rooms, Mux for video playback, and RevenueCat for subscriptions. Powering up your project with these platforms is the only way you’d get this done, with little sweat, in a weekend.
In our portion of this tutorial, we’re going to spotlight the in-app subscriptions step of the project using RevenueCat. To get started, download the source code and project demo from Github. If you haven’t already, you’ll want to check out parts 1-6 of the tutorial series first.
This tutorial is broken down into five parts:
1. Create a RevenueCat account.
2. Create a project on the dashboard and select the platform of your app.
3. Configure your product in App Store Connect.
4. Configure your product in RevenueCat.
5. Install and configure the RevenueCat SDK.
As we go, we’ll be highlighting the key things to know as we progress through configuring your in-app subscription — please refer to our SDK quick-start and SDK configuration guides for further resources.
1. Create a RevenueCat account
Sign up for a new RevenueCat account here.
It’s worth bearing in mind for the future that we recommend setting up a separate RevenueCat account for each unique project or app you work on. Should you wish to sell or transfer ownership down the line, this makes it easier.
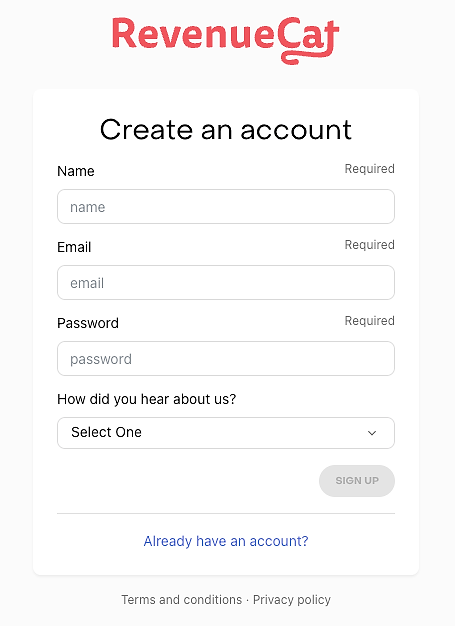
2. Create a project on the dashboard and select the platform of your app
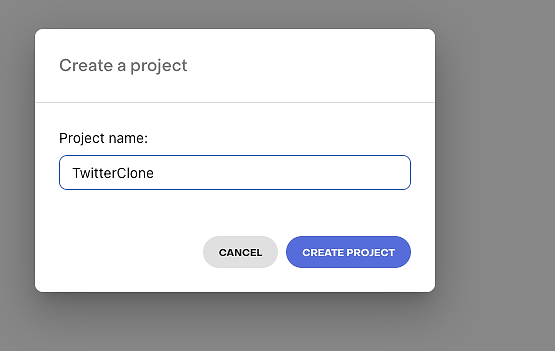
Navigate to the RevenueCat dashboard and add a new project from the dropdown in the top navigation menu called Projects.
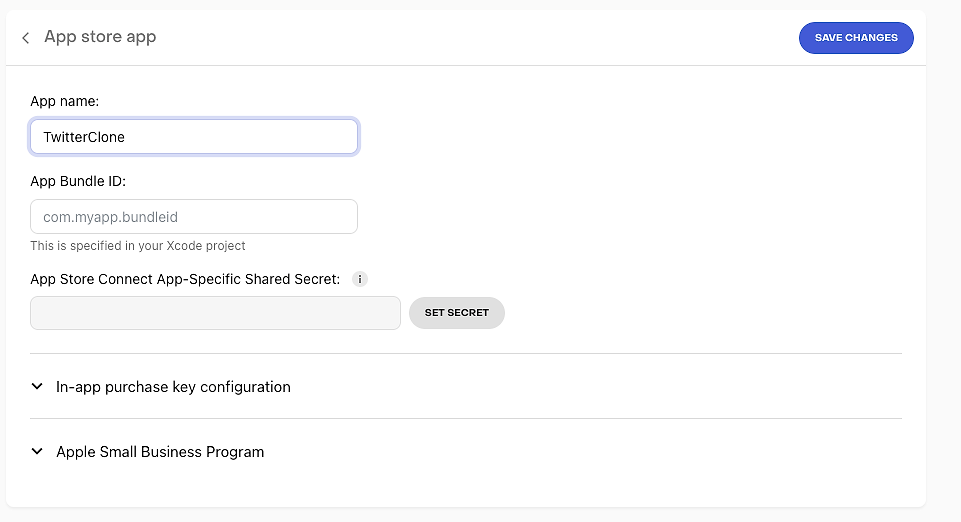
Next you need to add an app. Choose ‘App Store’ as your platform and give your app a name. We’ll add the rest of the details later.
3. Configure your product in App Store Connect
Next we’ll set up our Twitter Blue subscription in App Store Connect.
Rather than copy and paste the same information, you can find full details on how to set your product up in App Store Connect in our iOS product setup guide.
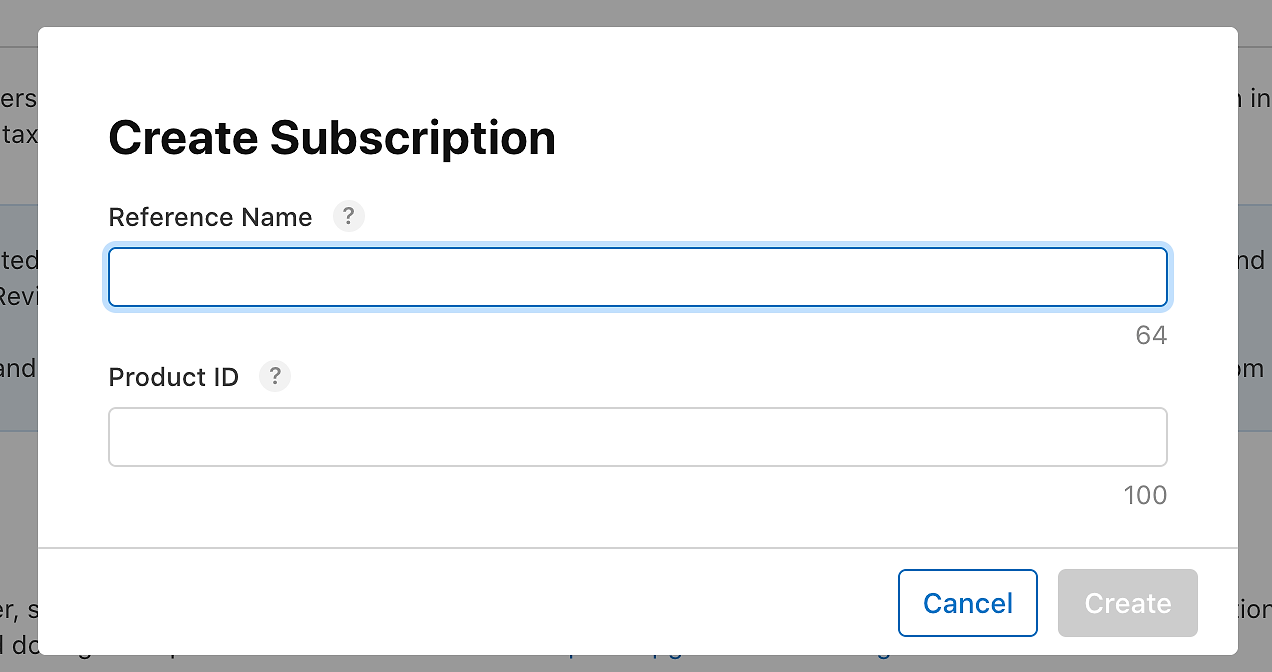
Follow the instructions that guide. When you create your Subscription, make a note of your Product ID — we’ll be using that in the next step.
4. Configure your product in RevenueCat
Next up, we’ll return to the RevenueCat dashboard and configure the product you just set up in App Store Connect.
Once again, we have a very comprehensive tutorial that covers the ins and outs of product configuration in RevenueCat. We recommend that you give that a read. However, one thing to keep in mind, when you create your entitlement in RevenueCat, call it “blue” to match Stream’s SDK configuration guide.
Other than that, go ahead and match your App Store Connect product to a new one in RevenueCat.
5. Install and configure the RevenueCat SDK
We have guides outlining how to install and configure the RevenueCat SDK for iOS (and other platforms).
However, for the purposes of this tutorial, we’ll be using the guide and code that Stream has already created. This method of integration uses Tuist, which we don’t cover in our documentation.
First of all, add the RevenueCat dependencies as a Swift Package to your Tuist dependencies.swift file.
Then add the dependency in the Tuist project, in project.swift, to a target.
Now fetch the dependency by running:
And then generate the Xcode project again by running:
From Stream’s codebase, you can find and explore how they implemented RevenueCat in the following Swift files in the folders Profile -> Sources from the Project Navigator.
PurchaseViewModel.swift
From the code above, the SDK is first initialized using the public API key obtained from your RevenueCat project settings and the shared instance of the RevenueCat SDK is configured during the app launch. For any subscription app, it is necessary to get the users’ subscription status. The RevenueCat SDK makes this easy using the customer information object returned from the Purchases.shared.getCustomerInfo method as shown in the code above.
Next, the code retrieves information about TwitterClone’s available in-app purchases from App Store Connect using the Purchases.shared.getOfferings method. You can then display those available products in your TwitterClone paywall.
SubscribeBlue.swift
In your SubscribeBlue.swift SwiftUI view, add a property and an init method that accepts a Package from the Offerings object in the previous step. Every Offering needs a Package, which is simply a group of equivalent products across iOS, Android, and web — however, as we’re only dealing with one platform here, our Package contains only iOS products.
Then, implement the code sample below demonstrating purchasing a package using a subscribe button.
See the full implementation in the code sample below.
SubscribeBlue.swift
When the subscription is successful, the user gets the confirmation message “You are subscribed.” Otherwise, we send the customer to the subscription screen (SubscribeBlue.swift).
See the full implementation in Stream’s SettingsView.swift file.
That’s it! Told you it would be quick
At this point, we’d recommend that you go and read Stream’s tutorial wrap-up.
And if you’re itching to complete more tutorials, then you might be interested in:
- our guide to building a SwiftUI app with in-app subscriptions with StoreKit 2 (and although you’ll quickly come to the conclusion that it was easier with RevenueCat all along, you’ll nevertheless pick up some useful knowledge)
- our guide to implementing in-app subscriptions in an Android app (using RevenueCat)
- and our guide to implementing in-app purchases in a React Native app with Expo