

Mobile apps primarily rely on two monetization strategies: ads and subscriptions. While ads provide free access to users and generate revenue for developers, they often disrupt the user experience and can lead to frustration. This creates an opportunity for developers to offer a premium, ad-free experience through subscriptions—a win-win solution that enhances user satisfaction while generating recurring revenue.
In this guide, we’ll walk you through the process of implementing an ad-free subscription in your Flutter app using RevenueCat. This tutorial has you covered even if you’re new to subscriptions and ads. Things we will be doing in this tutorial:
- Adding ads to our app using AdMob and google_mobile_ads package
- Adding subscriptions to our app using RevenueCat and flutter_purchases
- Configuring ads to be shown only if user is currently not subscribed, after subscribing all ads will be hidden from the users view
By the end of this article you should have a Flutter app for iOS and Android, that is capable of showing ads, displaying a paywall, and after purchasing a subscription from that paywall also able to hide the ads for the subscribed user.
Track ad revenue in RevenueCat
You can now track your AdMob add revenue in Revenuecat and get a complete picture of your revenue. Simply replace your standard AdMob loading calls with the loadAndTrack methods from the RevenueCat SDK. All ad events are tracked automatically. Read more about our new in-app ad revenue in our announcement blog post.
Prerequisites
In this tutorial, we will build a simple Flutter app, for both iOS and Android, that allows the user to subscribe to a monthly subscription which unlocks an ad-free experience in the app. If you have an existing app in which you’re going to implement subscription functionality, you can jump ahead to the next section.
Start by creating a new Flutter project. Follow the steps in this guide if you need a refresher. Open the project in your editor of choice. After that, run:
Testing in-app purchases is best on a real device, so choose that option from the presented list and check that your app runs without problems.
Set up App Store and Play Store
Before we can move to implementing subscriptions in our app, we need to configure our subscription product for all the platforms we want to target. Since Flutter is a cross-platform framework, it’s a good idea to target both iOS and Android. In both cases we want to configure a single subscription: a monthly recurring subscription for 5 dollars.
Create yourself a RevenueCat account and then follow this guide to connect the App Store and Play store to RevenueCat.
Step 1: Add ads to your Flutter app
Displaying ads in the app can be done with Google AdMob. Using it requires creating an account, create one if you haven’t already. After creating your account, create the new apps in the AdMob dashboard for all the platforms you plan to target.
Next step is to integrate the Google Mobile ADs SDK into a Flutter app. Add google_mobile_ads to the pubspec.yaml file:
We need to add AdMob App IDs to both the AndroidManifest.xml file (for Android) and the Info.plist file (for iOS) Make the following changes:
Before we add the code for initializing the ads (and later subscriptions), let’s go over the project structure. Both the subscription and ads logic will be placed in a file called subscription_manager.dart. Create that file inside a services folder and paste the following contents:
Next we need to initialize the ads at app startup. In the main.dart add this code to call the code :
Displaying Banner ads
Create a new file called ad_banner_widget.dart file and paste the contents from below:
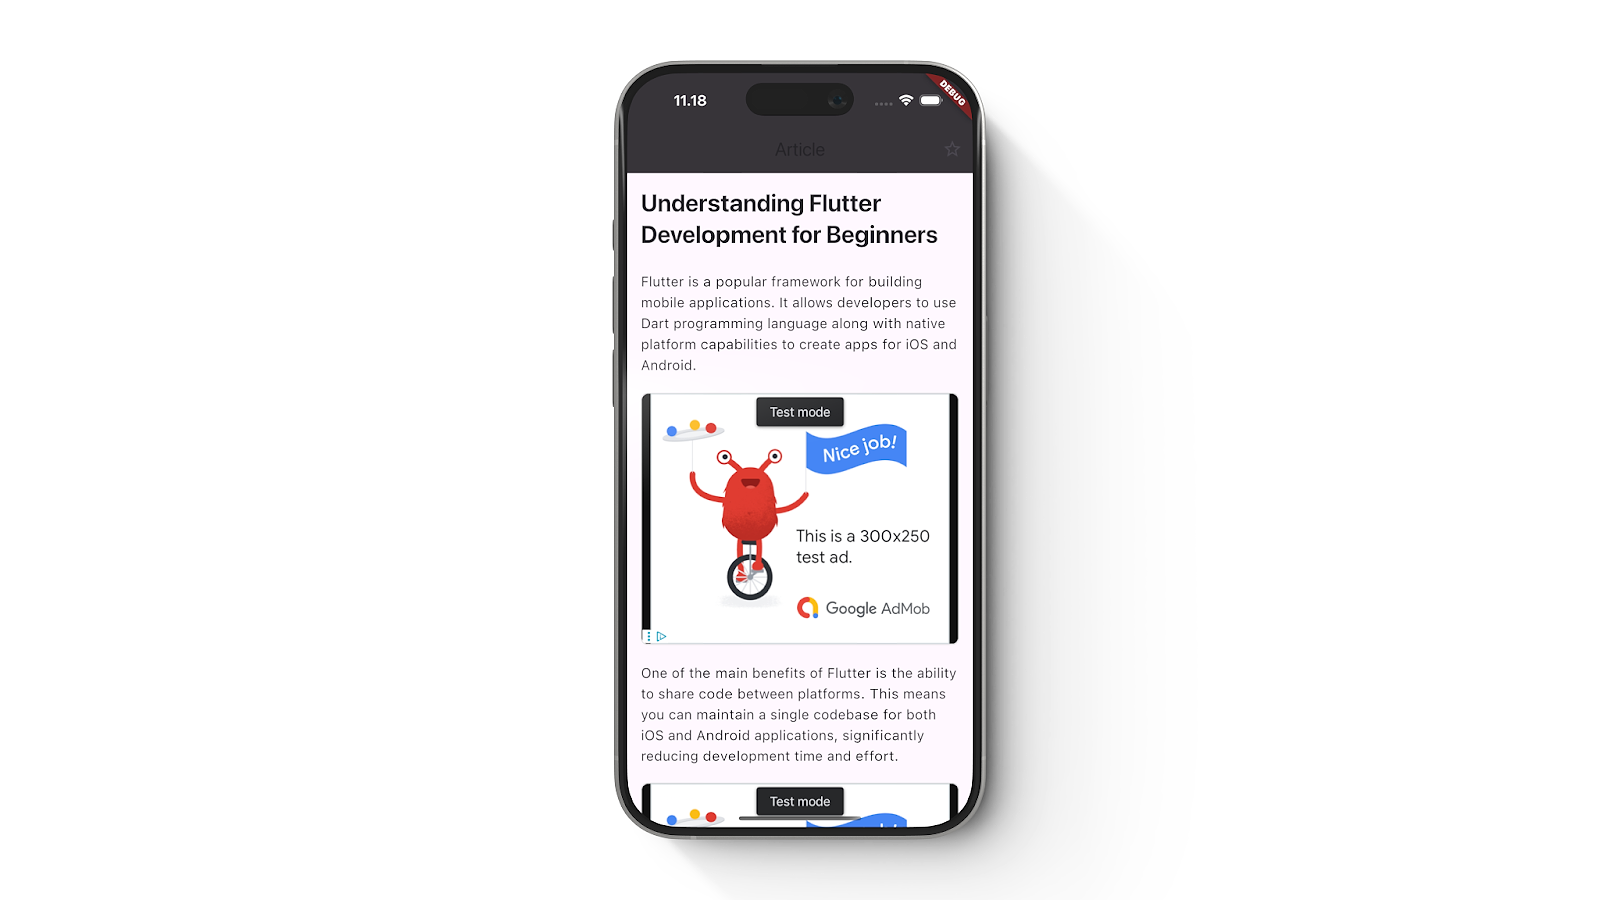
This component will display banner ads between the paragraphs that span the full width and one-third of the height of the page. We also need to add a functionality to the SubscriptionManager for creating banner ads:
Update the main.dart file to make use of the new Banner ads:
After these code changes, your apps should look like this:
Step 2: set up products
Once you’ve configured the store of your choice, or both in the previous steps, it’s time to set up Revenuecat. If you’re not familiar with Revenuecat, or time has passed since the last time you used it, this quickstart guide will help you get up to speed.
You need to configure your RevenueCat products, offerings and entitlements to have:
- One entitlement for the ad-free subscription level, using the identifier ad_free_entitlement
- Two separate products for App Store and Play Store, for example with identifier ad_free_monthly (learn more about the naming practices: iOS, Android)
- Matching subscriptions in Play Store console and App Store connect with the same identifiers
Remember to group your product under the entitlement you created.
Step 3: Add subscriptions to your Flutter app
Now that we have everything configured, it’s time to add purchases_flutter and purchases_flutter_ui; the Flutter client for RevenueCat subscriptions and paywall UI components. Add the dependencies:
We want RevenueCat to be initialized when the application starts, so at the same time as we initialize the ads. Update SubscriptionManager:
You can use the RevenueCat public API key directly or use an app_config.dart file like in this example. If you see RevenueCat error logs in the console, review and fix them.
Checking user entitlements
To keep track of whether a user has purchased a subscription and is eligible for ad-free experience, we implement a helper service. Add a function for checking if user is subscribed:
Using the entitlement status in your UI
Before showing ads we need to check if user is subscribed:
Implement purchasing functionality
Now that we can check if a user has purchased a subscription, it’s time to implement the purchasing functionality. We can do this easily with RevenueCat paywalls, which you can then customize through RevenueCat’s dashboard. Learn more about paywalls here.
Add the code below to enable showing paywalls:
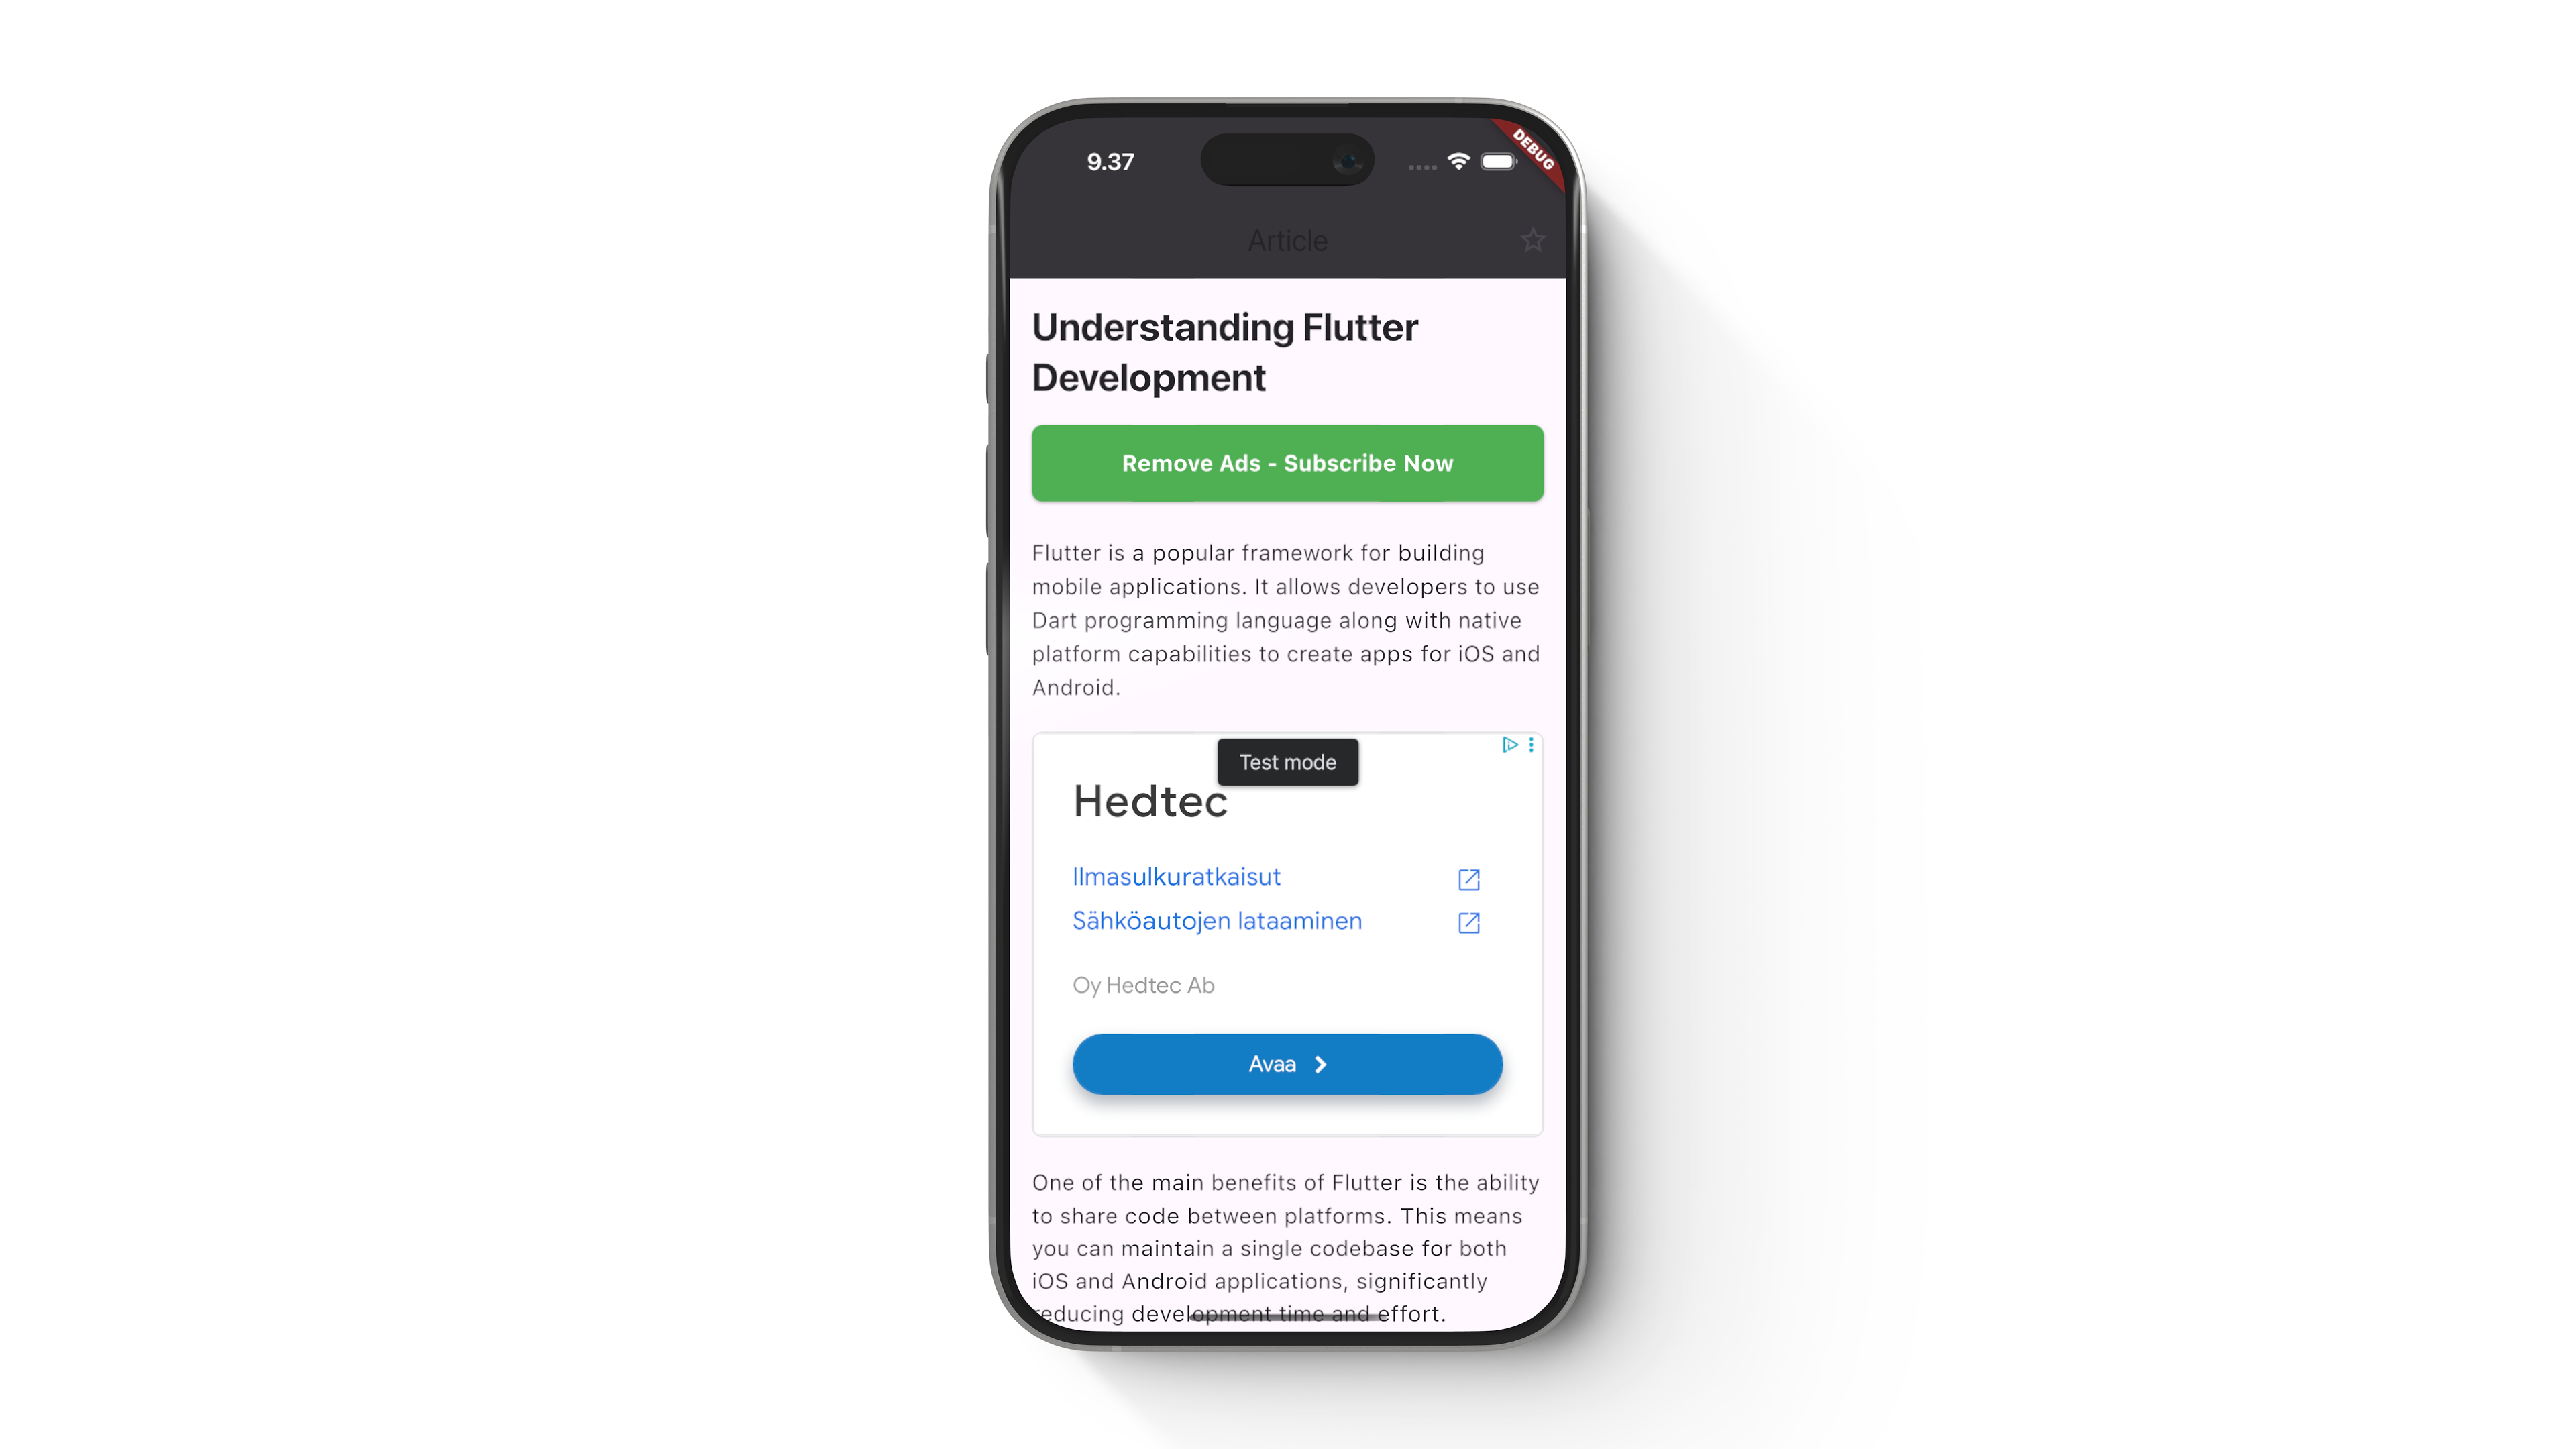
Run the app on a real device, press the button, and complete the purchase flow. After a successful purchase, the app will update to remove ads and give the user the ad-free experience.
Conclusion
Great work! You’ve successfully built a Flutter app that lets users subscribe to unlock an ad-free experience. From integrating AdMob for ads to implementing subscriptions with RevenueCat, you now have a strong foundation for monetizing your app. From here, you can take things further—customize your paywall directly in the RevenueCat dashboard, experiment with different pricing strategies, or add premium features that offer even more value behind the subscription. This is just the beginning of what’s possible with a flexible, subscription-based model.