Selecting columns for an export
How to choose which columns are included in a Scheduled Data Export
This article shows you how to pick which columns a Scheduled Data Export delivers. By the end, you'll have a custom column selection saved and your next export will reflect it.
Open the column catalog
- Open app.revenuecat.com and select your project.
- In the Integrations side panel, open your Scheduled Data Exports integration.
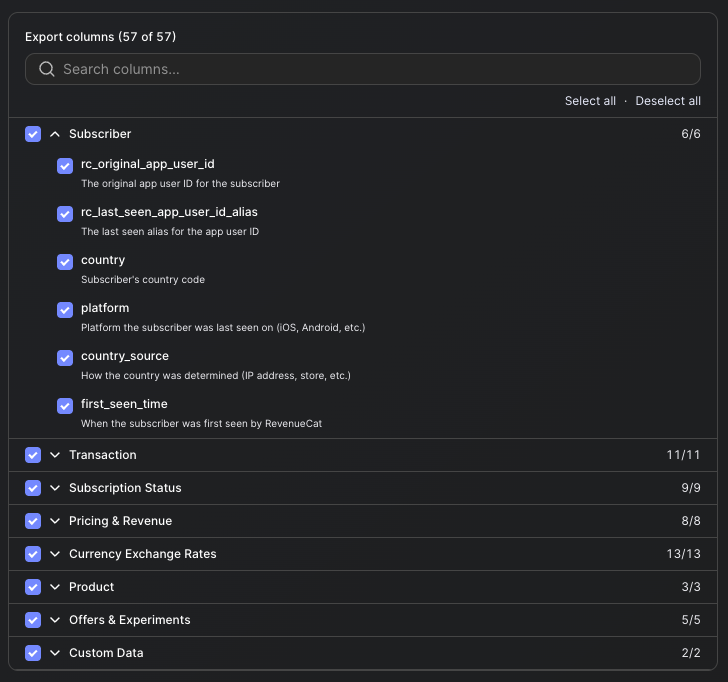
- Scroll to the Export columns section. This is the column catalog.
The catalog lists every available column, grouped by category, with the columns currently in your selection marked as checked.
A new integration starts with a sensible default selection. You can save without changing anything, or expand the selection before saving — both work.
Toggle columns and save
- Check the box next to any column you want to add, or uncheck a column you want to remove.
- Click Save changes at the bottom of the page.
Your selection applies to future exports only — RevenueCat doesn't rewrite past deliveries. The first export generated after you save will include the new column set; until then, in-flight deliveries continue to use the previous selection.
Changing the selection later
You can revisit the column catalog and adjust the selection at any time. The new selection takes effect on the next scheduled export. If your downstream pipeline depends on a specific column being present, make sure the pipeline is updated before you remove that column from the selection.
For the full list of available columns, see Available columns for Transactions.
Migrated integrations may export unlisted columns
If your integration was migrated from an older export version, your deliveries can include columns that no longer appear in the catalog. These columns were replaced in a newer version and are kept to preserve a stable output shape, but they're hidden from the catalog so they can't be added to new selections.
This is why the "X of Y" count in the Export columns section can be lower than the number of columns in your delivered file. For example, an integration migrated from version 6 still exports experiment_id and experiment_variant (replaced by enrolled_experiments_by_layer in version 7), even though they don't appear in the catalog.
Checking or unchecking individual columns preserves any hidden columns in your export. Select all and Deselect all, however, rebuild your selection from the visible catalog only, permanently removing the hidden columns from future deliveries. To restore a removed hidden column, contact RevenueCat Support via the dashboard Contact Us form.