Configure products with Product Editor
Download, edit, review, and commit App Store and Play Store products from a CSV



This article shows you how to create and update App Store and Play Store products in bulk with Product Editor. By the end, you will have reviewed a plan and committed it to the store.
Prerequisites
- App Store Connect API key or Google Play service credentials connected for the app you will edit. Play Console also needs Manage store presence on the service account.
- An Administrator, Growth, or Developer role (or project owner). View Only and Support cannot upload or commit.
- App Store or Play Store products
Each file is one app and one store. You cannot mix App Store and Play Store products in the same upload. A file can include at most 50 products. Play Store exports include subscriptions only.
Step 0: Open Product Editor
- In your project, go to Product catalog → Products.
- Click Product editor.

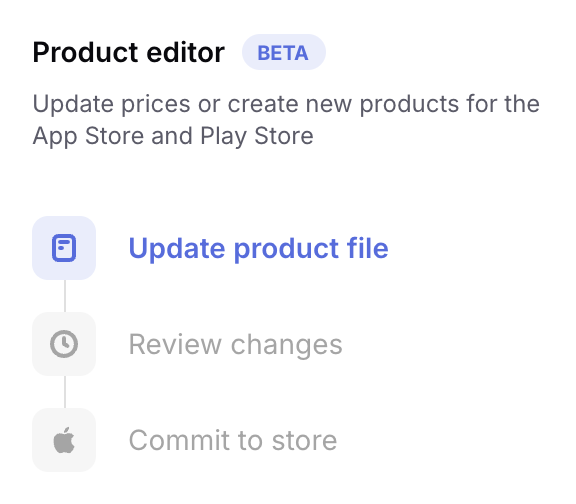
The editor is a three-step flow: Update product file, Review changes, and Commit to store.
Step 1: Download a product file
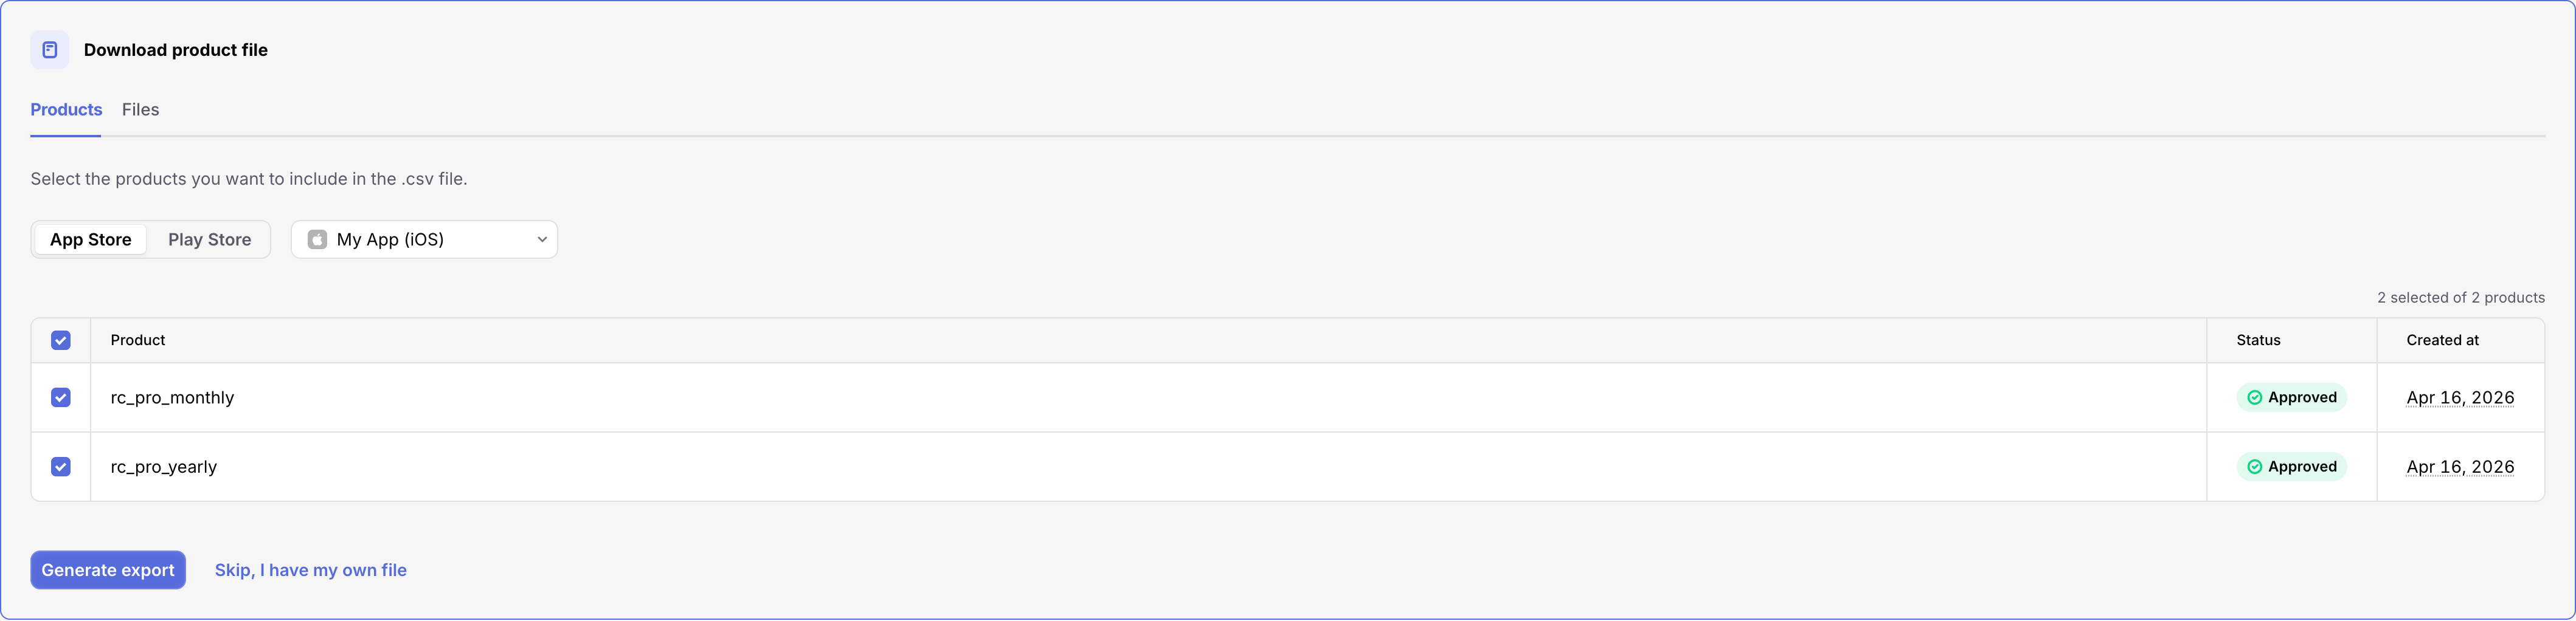
- Choose App Store or Play Store, then the app.
- Select the products to include (up to 50).
- Click Generate export.
- When the file is ready, click Download file.
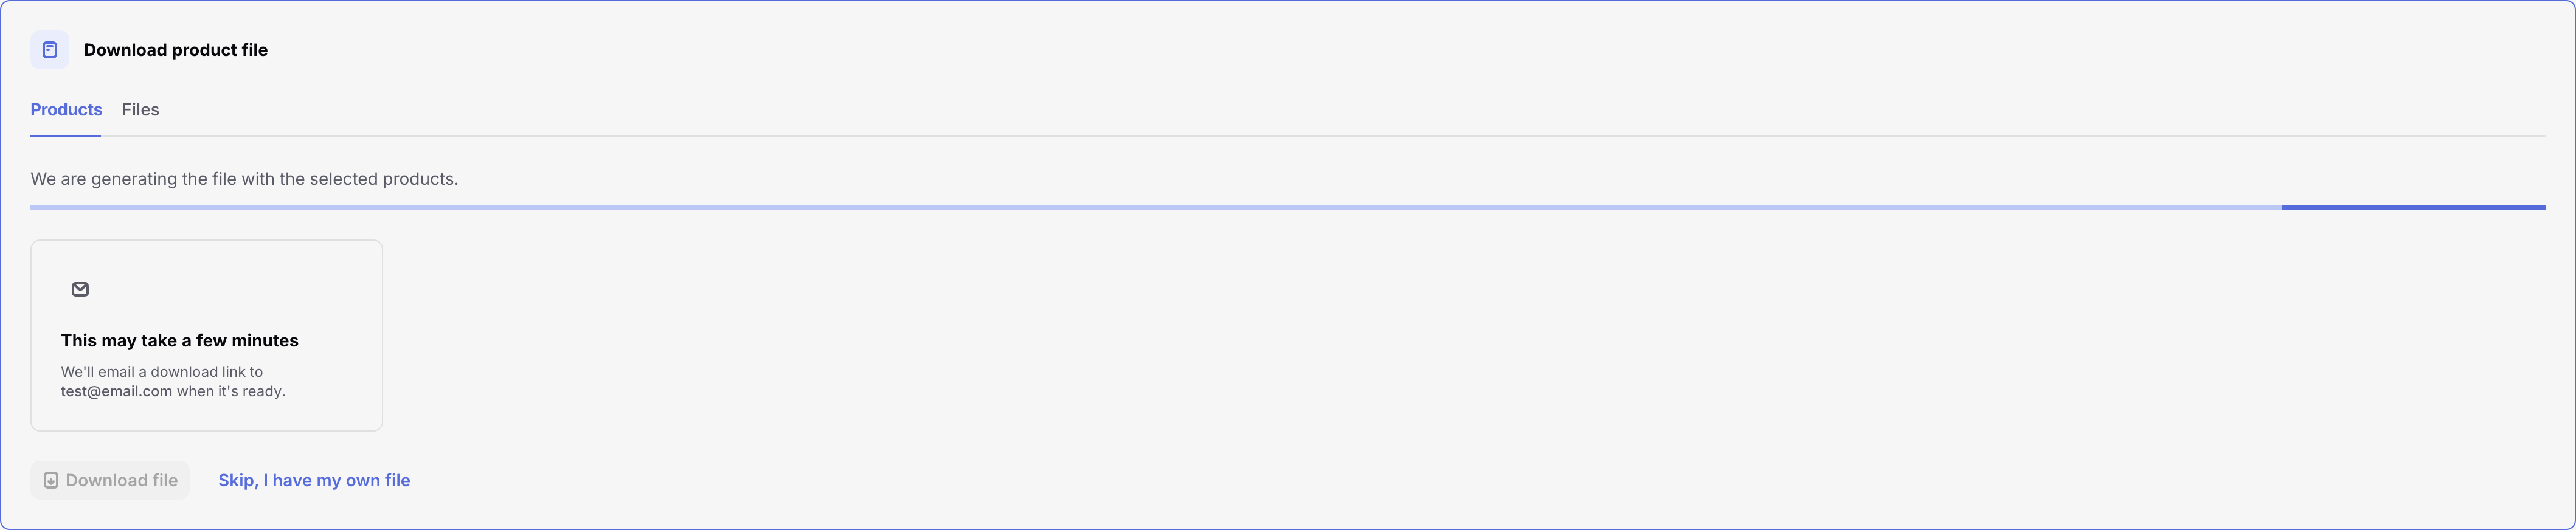
Generating the file can take a few minutes for large catalogs. You can wait for it to finish, or click Notify me by email to receive a download link when it is ready.
If you already have a file in the Product Editor format, click Skip, I have my own file. Still select the correct app first so the upload is associated with that store.
The Files tab lists previous exports. Do not reuse an old file if you changed products directly in the store afterward. That data can be stale.
Step 2: Edit the CSV
Open the downloaded file in Excel, Google Sheets, or any spreadsheet tool.
Always start from an export of your products instead of building a spreadsheet from scratch. Headers differ by store (App Store files omit Play Store columns, and the reverse). Use the sample App Store and sample Play Store files only to inspect the layout. Do not upload them to a live project.
A typical price change:
- Find the
pricerow for the product and territory (country name, for exampleUnited States). - Update
amount(the customer-facing price, such as9.99, not micros). - Leave unrelated cells blank or unchanged. Blank or unchanged cells mean “keep the current value.”
See Product Editor CSV format for every column and row type.
start_date values are exported with a leading apostrophe (for example '2026-09-01) so Excel does not rewrite them. Keep dates as YYYY-MM-DD. If Excel converts a date to another format, the upload can fail.
Example: change one price
row_type | store | store_identifier | territory | amount | currency | available |
|---|---|---|---|---|---|---|
product | app_store | rc_pro_monthly | ||||
price | app_store | rc_pro_monthly | United States | 12.99 | USD | true |
That updates the US price for rc_pro_monthly to $12.99. Other territories stay as they are if you leave those rows unchanged.
To create a product, add a product row with a new store_identifier and the required fields (type, duration, prices). RevenueCat can create the matching catalog product when you commit.
You cannot delete a product from the store with this flow.
Setting available to false on an approved App Store auto-renewable subscription removes that territory from sale. Apple then stops renewals for people already subscribed. There is no setting that blocks new purchases and keeps renewals. Each subscriber keeps access until the period they already paid for ends, and then the subscription does not renew.
To hide a plan from new customers and keep current subscribers renewing, leave available as true and remove the product from your offerings and paywalls. While the plan stays on sale, subscribers in the same subscription group can still switch to it from their Apple subscription settings.
Set available to false only when you intend to end the plan for existing subscribers too. Apple requires at least 31 days between removing the subscription from sale and stopping service, so monthly and shorter subscriptions can expire. See Set availability for an auto-renewable subscription.
Step 3: Upload the file
- Drop the
.csvon Upload product file, or click to select it. - Wait until the plan is ready. You can get email when planning finishes.
- Click Review changes.

Nothing is sent to Apple or Google at this step.
Step 4: Review changes
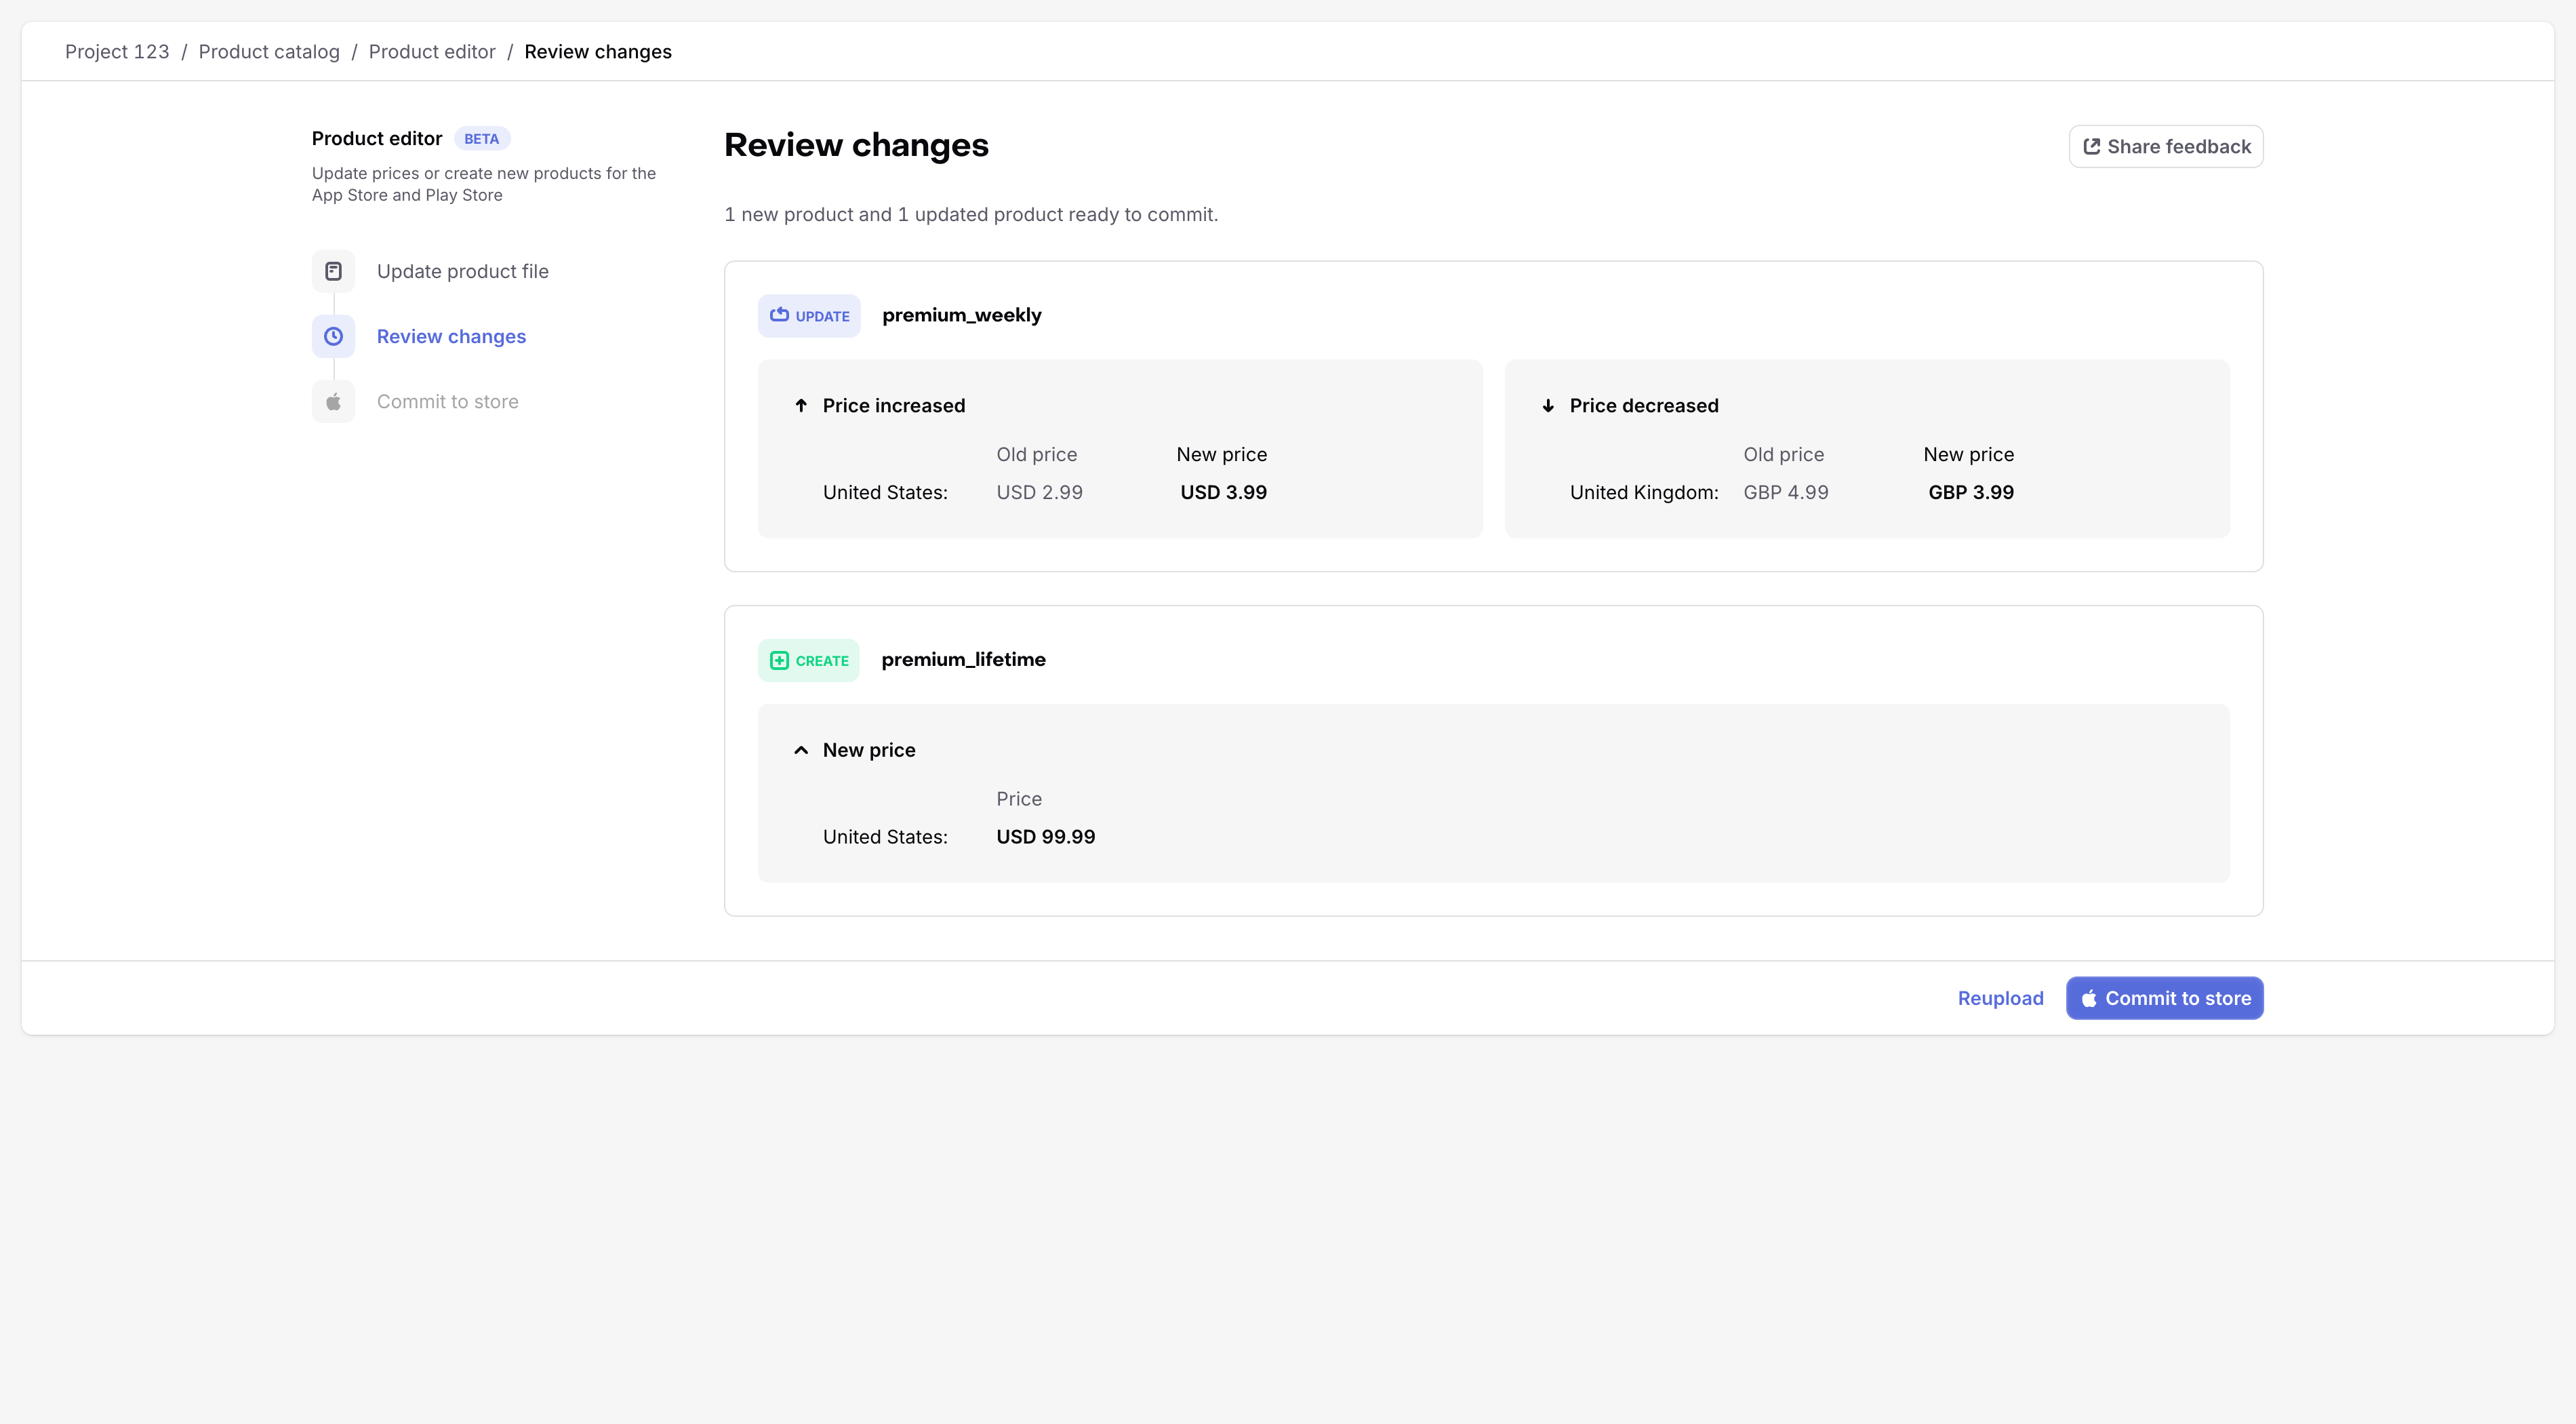
The review screen lists each product as CREATE, UPDATE, or NO CHANGES, with grouped diffs such as price increases, new prices, localizations, and offer changes.

Fix red blocker warnings before you can commit. Yellow warnings do not block you.
If the plan has no changes, upload a different file. Reupload starts a fresh plan instead of resuming the previous one.
Step 5: Commit to store
Click Commit to store to apply the plan to App Store Connect or Google Play.
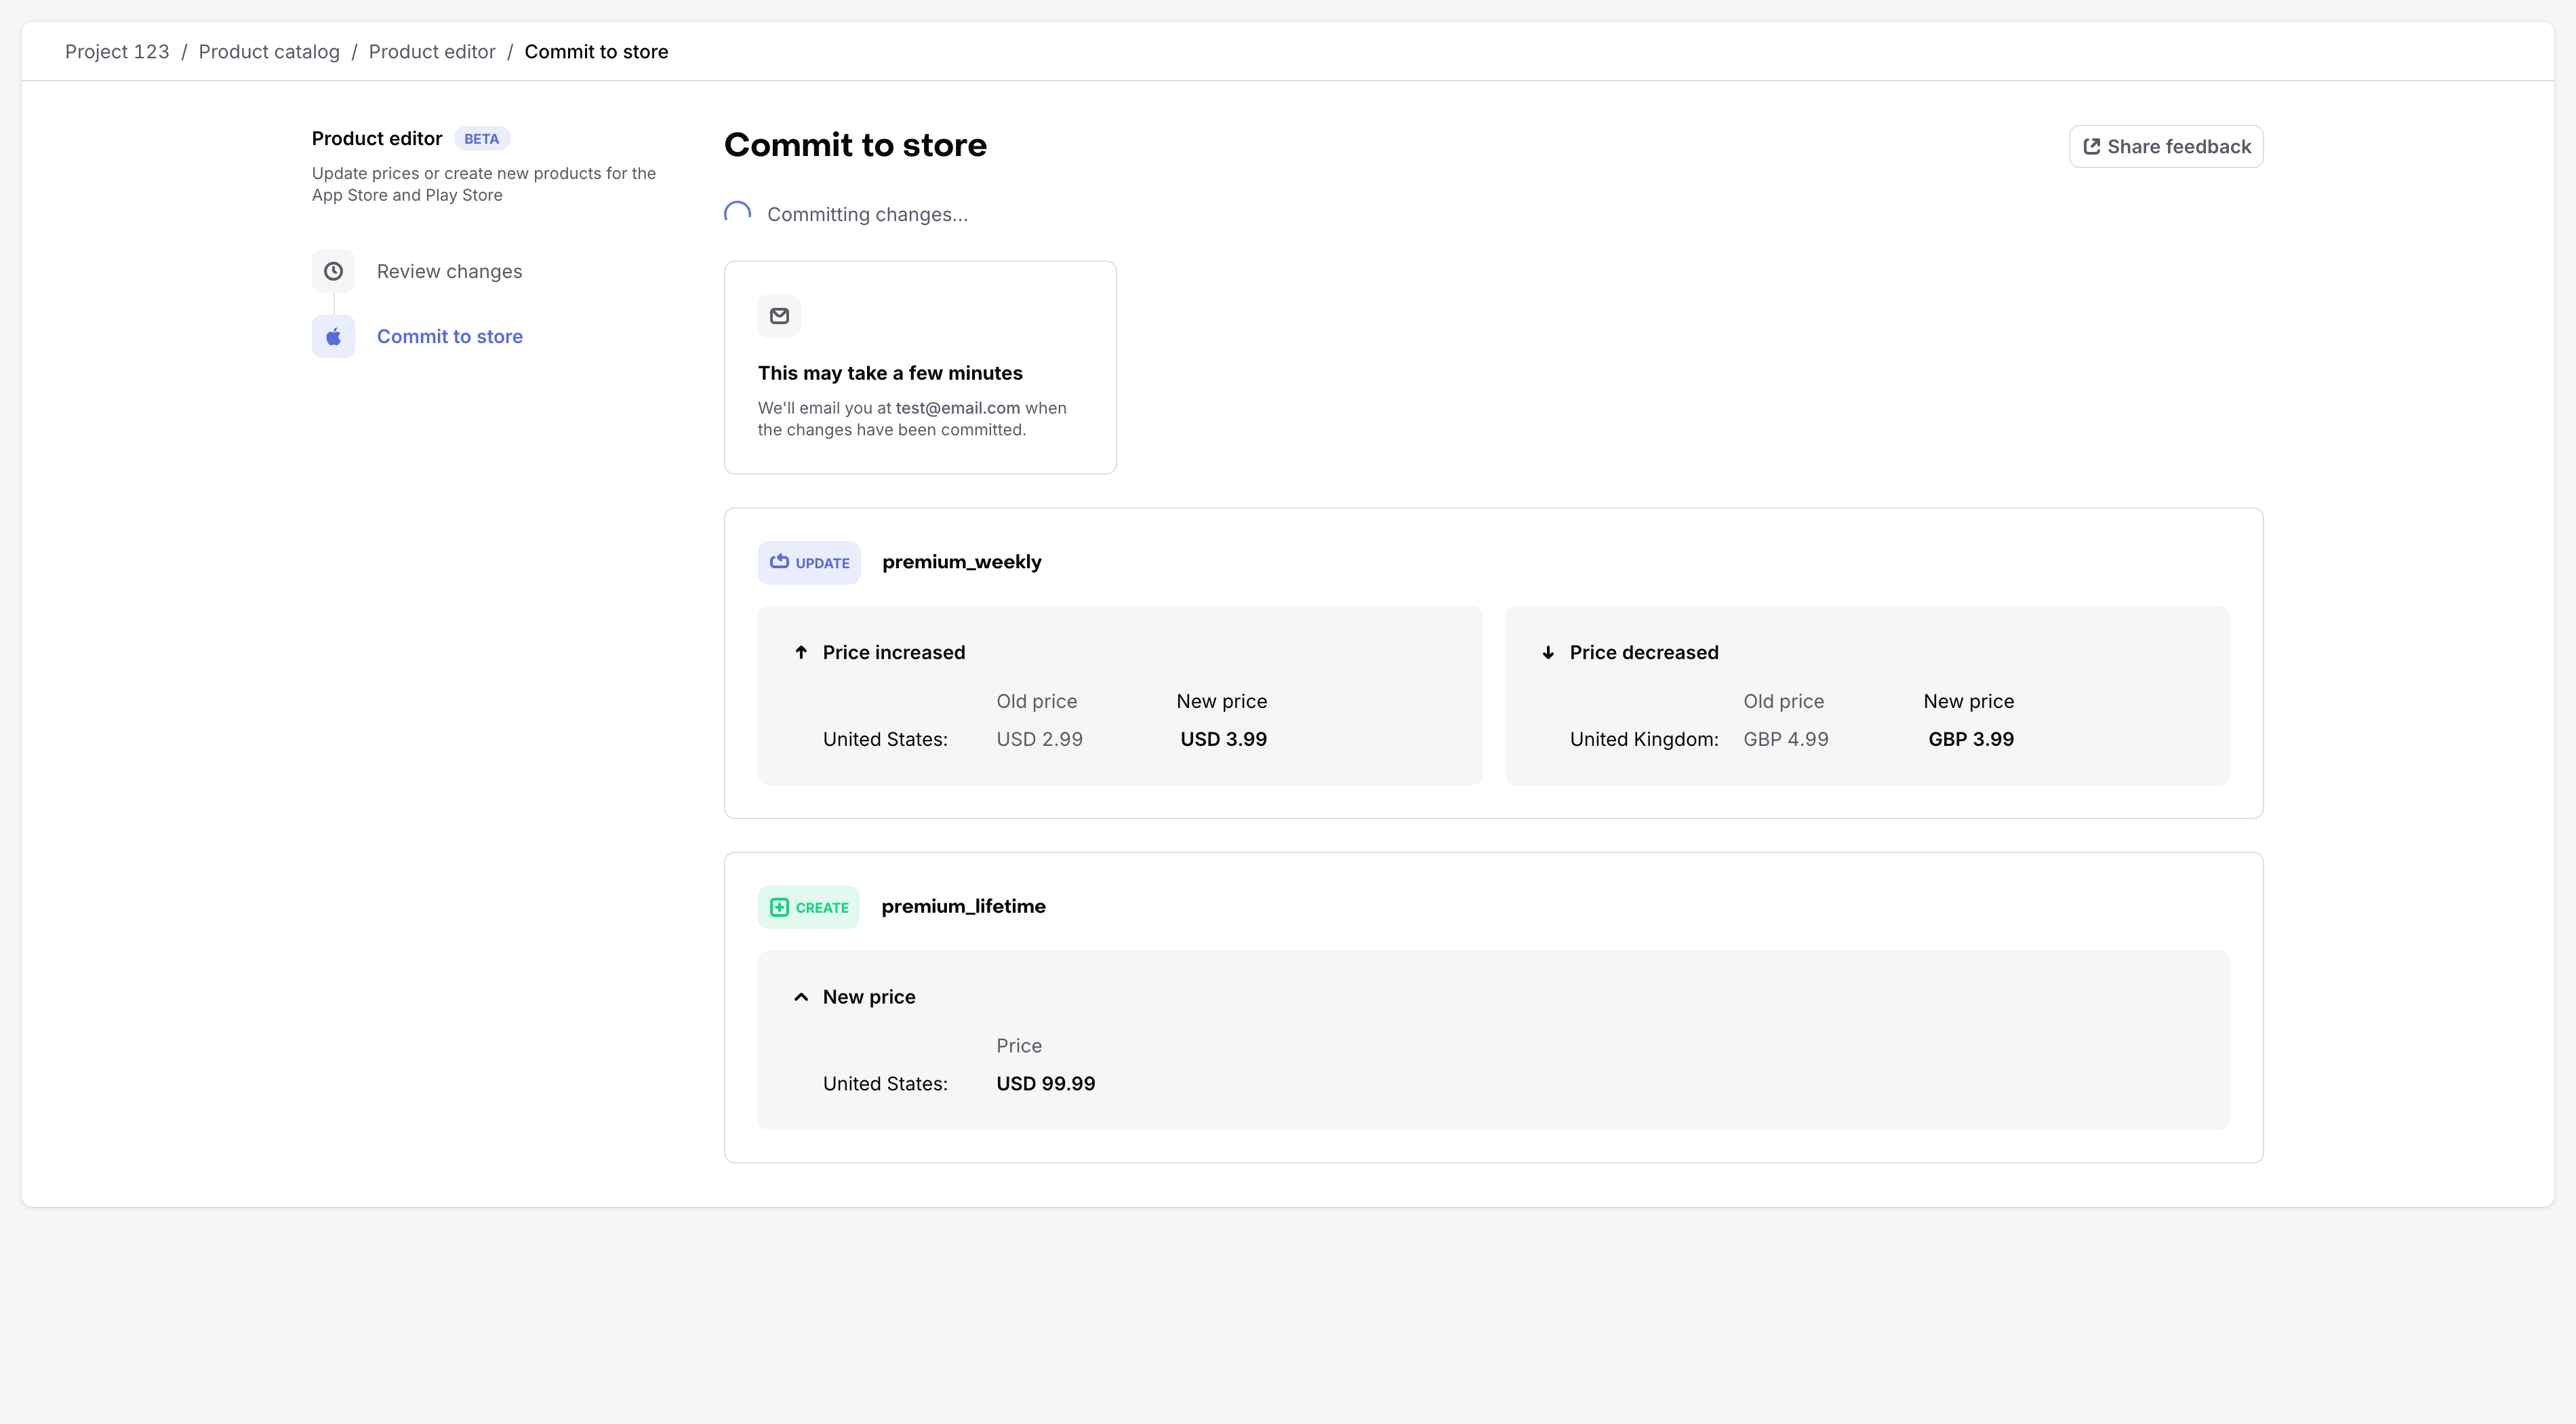
Applying changes can take several minutes and continues in the background if you leave the page. You can optionally click Notify me by email to get a notification when it is complete.
When it succeeds, the products are updated in the store. If one product fails, the products that already applied stay applied. The plan shows an error, and failed products keep their error on the card. Click Try again to retry the failed items.
You still need to complete any store-side review Apple requires (for example submitting in-app purchases with an app version). See iOS Product Setup and Google Play Product Setup.
For how customers experience a price change after it is live, see Changing Prices.