


Mobile apps primarily rely on two monetization strategies: ads and subscriptions. While ads provide free access to users and generate revenue for developers, they often disrupt the user experience and can lead to frustration. This creates an opportunity for developers to offer a premium, ad-free experience through subscriptions—a win-win solution that enhances user satisfaction while generating recurring revenue.
In this guide, we’ll walk you through the process of implementing an ad-free subscription in your React Native app using RevenueCat. This tutorial is beginner-friendly. Here’s what we’ll cover:
- Adding
react-native-purchasesto enable in-app purchasing in our app - Adding
react-native-google-mobile-adsto display inline ads in our app - Configuring in-app products in RevenueCat and required entitlements that unlock the ad-free experience
Prerequisites
Next let’s add some lovely ads to our app
In this tutorial, we will build a simple React Native app, for both iOS and Android, that allows the user to subscribe to a monthly subscription which unlocks an ad-free experience in the app. If you have an existing app which you’re going to implement subscription functionality, you can jump ahead to the next section. Follow along by cloning the sample project, built with Expo.
When using react-native-purchases with Expo you need to install expo-dev-tools and create a development build as Expo Go does not support native modules which are required by react-native-purchases. Learn how to create a development build and install it on your device from this interactive guide
Start by cloning this GitHub repository which contains the template for this project.
1$ git clone git@github.com:plahteenlahti/ad-iap-example.gitThe template comes configured with Expo, react-native-google-mobile-ads, and expo-dev-client. Expo Go doesn’t support native modules by default, which are required for react-native-purchases. Run npm install to install all the dependencies and open the project in your editor of choice. After that, run npx expo start to start the development server.
Testing in-app purchases is best on a real device, so choose that option from the above list and you should see something like this:
Step 1: Set up App Store and Play Store
Before we can move to implementing subscriptions in our app, we need to configure our subscription product for all the platforms we want to target. Since React Native is a cross-platform solution, targeting both iOS and Android is a good idea. In both cases we want to configure a single subscription: a monthly recurring subscription for 5 dollars.
Step 1.1: Set up App Store
Create a RevenueCat account and then follow this guide to connect the App Store to RevenueCat.
Step 1.2: Set up Play Store
Create a RevenueCat account and then follow this guide to connect the Play Store to RevenueCat.
Step 2: Set up RevenueCat products
Once you’ve configured the store of your choice, or both, it’s time to set up Revenuecat. If you’re not familiar with Revenuecat before, or time has passed since the last time you used it, this quickstart guide will help you get up to speed.
You should configure your RevenueCat products, offerings and entitlements so that you have:
- One entitlement for the ad-free subscription level, using the identifier ad_free_entitlement
- Two separate products for App Store and Play Store, for example with identifier ad_free_monthly (learn more about the naming practises: iOS, Android)
- Matching subscriptions in Play Store console and App Store connect with the same identifiers
Remember to group your product under the entitlement you created.
Step 3: Add ads with react-native-google-mobile-ads
Next let’s add some ads to our app. First we need to install the react-native-google-mobile-ads. Use the command below
1npx expo install react-native-google-mobile-adsAlso install expo-build-properties:
1npx expo install expo-build-properties
2
We also need to enable static frameworks for everything to work. In your app.json, in the plugins section add the following:
1plugins": [
2     	/// ... other plugins
3      [
4        "react-native-google-mobile-ads",
5        {
6          "iosAppId": "you-app-id",
7          "androidAppId": "you-app-id"
8        }
9      ],
10      [
11        "expo-build-properties",
12        {
13          "ios": {
14            "useFrameworks": "static"
15          }
16        }
17      ]
18    ],
Before displaying ads, you’ll need a Google AdMob account. Create one if you haven’t already and create new apps in the AdMob dashboard for all the platforms you plan to target. Notice that you need to place your AdMob key in the config plugin’s section. Using an invalid key will cause your app to crash.
Run your app and ensure that everything is working properly. The next step is to add the correct type of ads into our app.
Initialize the Google Mobile Ads SDK
Before you can load ads in your app, you need to initialize the Google Mobile Ads SDK by calling the initialize method. This call needs to be done only once, preferably right after the app launch.
In your app entrypoint (_layout.tsx in Expo router or App.tsx in bare project) do the following:
1import { Stack } from "expo-router";
2import { useEffect } from "react";
3import { Platform } from "react-native";
4import mobileAds from "react-native-google-mobile-ads";
5
6export default function RootLayout() {
7  useEffect(() => {
8    // Initialize mobile ads
9    mobileAds()
10      .initialize()
11      .then(adapterStatuses => {
12        console.log('Mobile ads initialized successfully');
13      })
14      .catch(error => {
15        console.error('Failed to initialize mobile ads:', error);
16      });
17
18  }, []);
19
20  return <Stack screenOptions={{ title: "Article" }} />;
21}
You also need to take care of requesting app tracking transparency authorization. Follow React Native Google Mobile Ads documentation for doing that correctly.
Show banner apps in your app
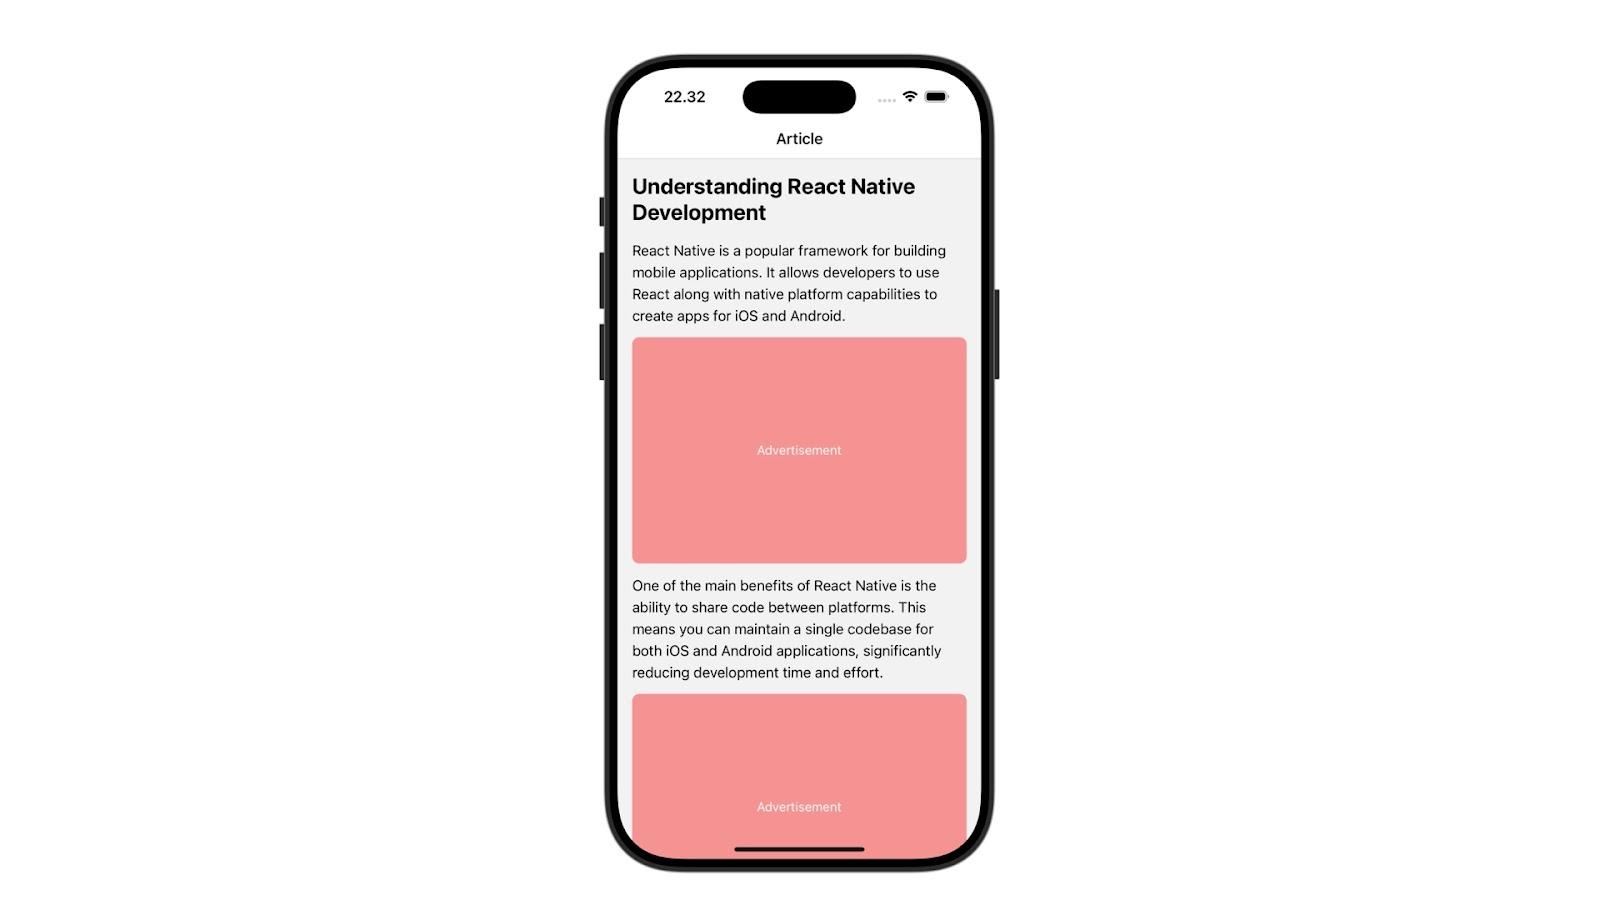
React native Google Mobile Ads provides multiple different types of ads to show in your app. In our case we want to show banner ads that take a limited amount of space on the screen, allowing the user to still see the main content but with a slightly hindered user experience.
Banner ads work like this:
- You import the BannerAd component and include it in the code. In the example project there is an existing Ad component that we can place the BannerAd component in.
- Since BannerAd is a WebView we need to call the useForeground hook to detect when app is brought back from background and request a new ad so that banner ads don’t end up showing empty ads.
- Define unitId and size. The former should in testing be a TestIds.ADAPTIVE_BANNER and in production a real ad id, while the latter should be of the size we want to show in our app. In the example ⅓ of the device height is used, based on Dimensions.get
Add the following snippet to your code to show banner ads:
1/// Ad.tsx
2
3import React, { useRef } from 'react';
4import { Platform, View, Dimensions } from 'react-native';
5import { BannerAd, BannerAdSize, TestIds, useForeground } from 'react-native-google-mobile-ads';
6
7const adUnitId = __DEV__ ? TestIds.ADAPTIVE_BANNER : 'ca-app-pub-xxxxxxxxxxxxx/yyyyyyyyyyyyyy';
8
9interface AdProps {
10  style?: any;
11}
12
13export const Ad = ({ style }: AdProps) => {
14  const bannerRef = useRef<BannerAd>(null);
15  const screenHeight = Dimensions.get('window').height;
16  const adHeight = screenHeight / 3;
17
18  // react-native-google-mobile-ads documentation:
19  // (iOS) WKWebView can terminate if app is in a "suspended state", resulting in an empty banner when app returns to foreground.
20  // Therefore it's advised to "manually" request a new ad when the app is foregrounded (https://groups.google.com/g/google-admob-ads-sdk/c/rwBpqOUr8m8).
21  useForeground(() => {
22    Platform.OS === 'ios' && bannerRef.current?.load();
23  });
24
25  return (
26    <View style={[{ height: adHeight }, style]}>
27      <BannerAd
28        ref={bannerRef}
29        unitId={adUnitId}
30        size={`${Dimensions.get('window').width - 20}x${adHeight}`}
31      />
32    </View>
33  );
34};
35
Your app should now display banner ads between the main content blocks, and look like this now:
Step 4: Add subscriptions to your React Native app
Now that we have ads configured it’s time to add react-native-purchases and react-native-purchases, RevenueCat’s SDKs for in-app purchasing. Run the command below:
1$ npx expo install react-native-purchases react-native-purchase-uiIf you run into problems with the setup, see this for guidance.
We want RevenueCat to be initialized on app start, add this piece of code to entry file of your app, in our example project that means the layout file:
1// _layout.tsx
2
3import { Stack } from "expo-router";
4import { useEffect } from "react";
5import { Platform } from "react-native";
6import Purchases from "react-native-purchases";
7import mobileAds from "react-native-google-mobile-ads";
8
9export default function RootLayout() {
10  useEffect(() => {
11    // Initialize mobile ads
12    mobileAds()
13      .initialize()
14      .then(adapterStatuses => {
15        console.log('Mobile ads initialized successfully');
16      })
17      .catch(error => {
18        console.error('Failed to initialize mobile ads:', error);
19      });
20
21  }, []);
22
23  useEffect(() => {
24    // Enable development logging
25    Purchases.setLogLevel(Purchases.LOG_LEVEL.DEBUG);
26    if (Platform.OS === "ios") {
27      Purchases.configure({ apiKey: "your_ios_api_key" });
28    } else if (Platform.OS === "android") {
29      Purchases.configure({ apiKey: "your_android_api_key" });
30    }
31  }, []);
32
33  return <Stack screenOptions={{ title: "Article" }} />;
34}
35
This code runs on app mount. Replace placeholder apiKeys with your RevenueCat Project Settings keys. If you see RevenueCat error logs in the console, review and fix them.
Checking user entitlements
To keep track whether a user has purchased a subscription and is eligible for ad-free experience, we implement a custom hook for checking the subscription status. Add this code for in a separate file called useIsAdFree.ts
Import the hook in index.tsx, make the following changes to the app code, and save them. Most things should be the same now, but you should see a loader when the app loads.
Implement purchasing functionality
Now that we can check if a user has purchased a subscription, it’s time to implement the purchasing functionality. Create a new file called usePurchaseSubscription.ts:
In a real case you should handle the error differently, but this works for now, since we’re only using a single product in our app for now.
Next, change the index.tsx code to have a button for calling the purchase subscription function:
1// useIsAdFree.ts
2import { useEffect, useState } from "react";
3import Purchases from "react-native-purchases";
4
5export const useIsAdFree = () => {
6  const [adFree, setAdFree] = useState(false);
7  const [loading, setLoading] = useState(true);
8
9  useEffect(() => {
10    const checkCustomerEntitlement = async () => {
11      try {
12        setLoading(true);
13        const customerInfo = await Purchases.getCustomerInfo();
14
15        const entitlementActive =
16          customerInfo?.entitlements?.active?.["ad_free_entitlement"];
17        setAdFree(!!entitlementActive);
18      } catch (error) {
19        console.error("Error checking customer entitlement:", error);
20        setAdFree(false);
21      } finally {
22        setLoading(false);
23      }
24    };
25
26    checkCustomerEntitlement();
27  }, []);
28
29  return { adFree, loading };
30};
31
Test your app by pressing on the button and buying the subscription. If all goes well, you should see a loader after which the ads disappear and you can enjoy your content ad free.
Conclusion
Nice job, you’ve reached the end of this tutorial and you now have an app allowing users to subscribe to unlock an ad-free reading experience. Although this is a very good start, getting your app accepted for distribution will require building a few more features such as restoring purchases. We’ve collected some additional reading here for you to continue building the best possible in-app purchases experience: